
How to Transfer a Photo From an iPhone to Your PC
Summary
– Connect iPhone to your computer to transfer photos
– Transfer a photo to your PC from iCloud
– Send the photo by e-mail
Transferring a photo from your smartphone to your computer is a simple operation. You can connect the device directly to your computer, use your online photo storage space, or opt to e-mail it from your phone. There are several solutions available to you. Here’s how to transfer a photo from iPhone to a PC.
Connect iPhone to your computer to transfer photos
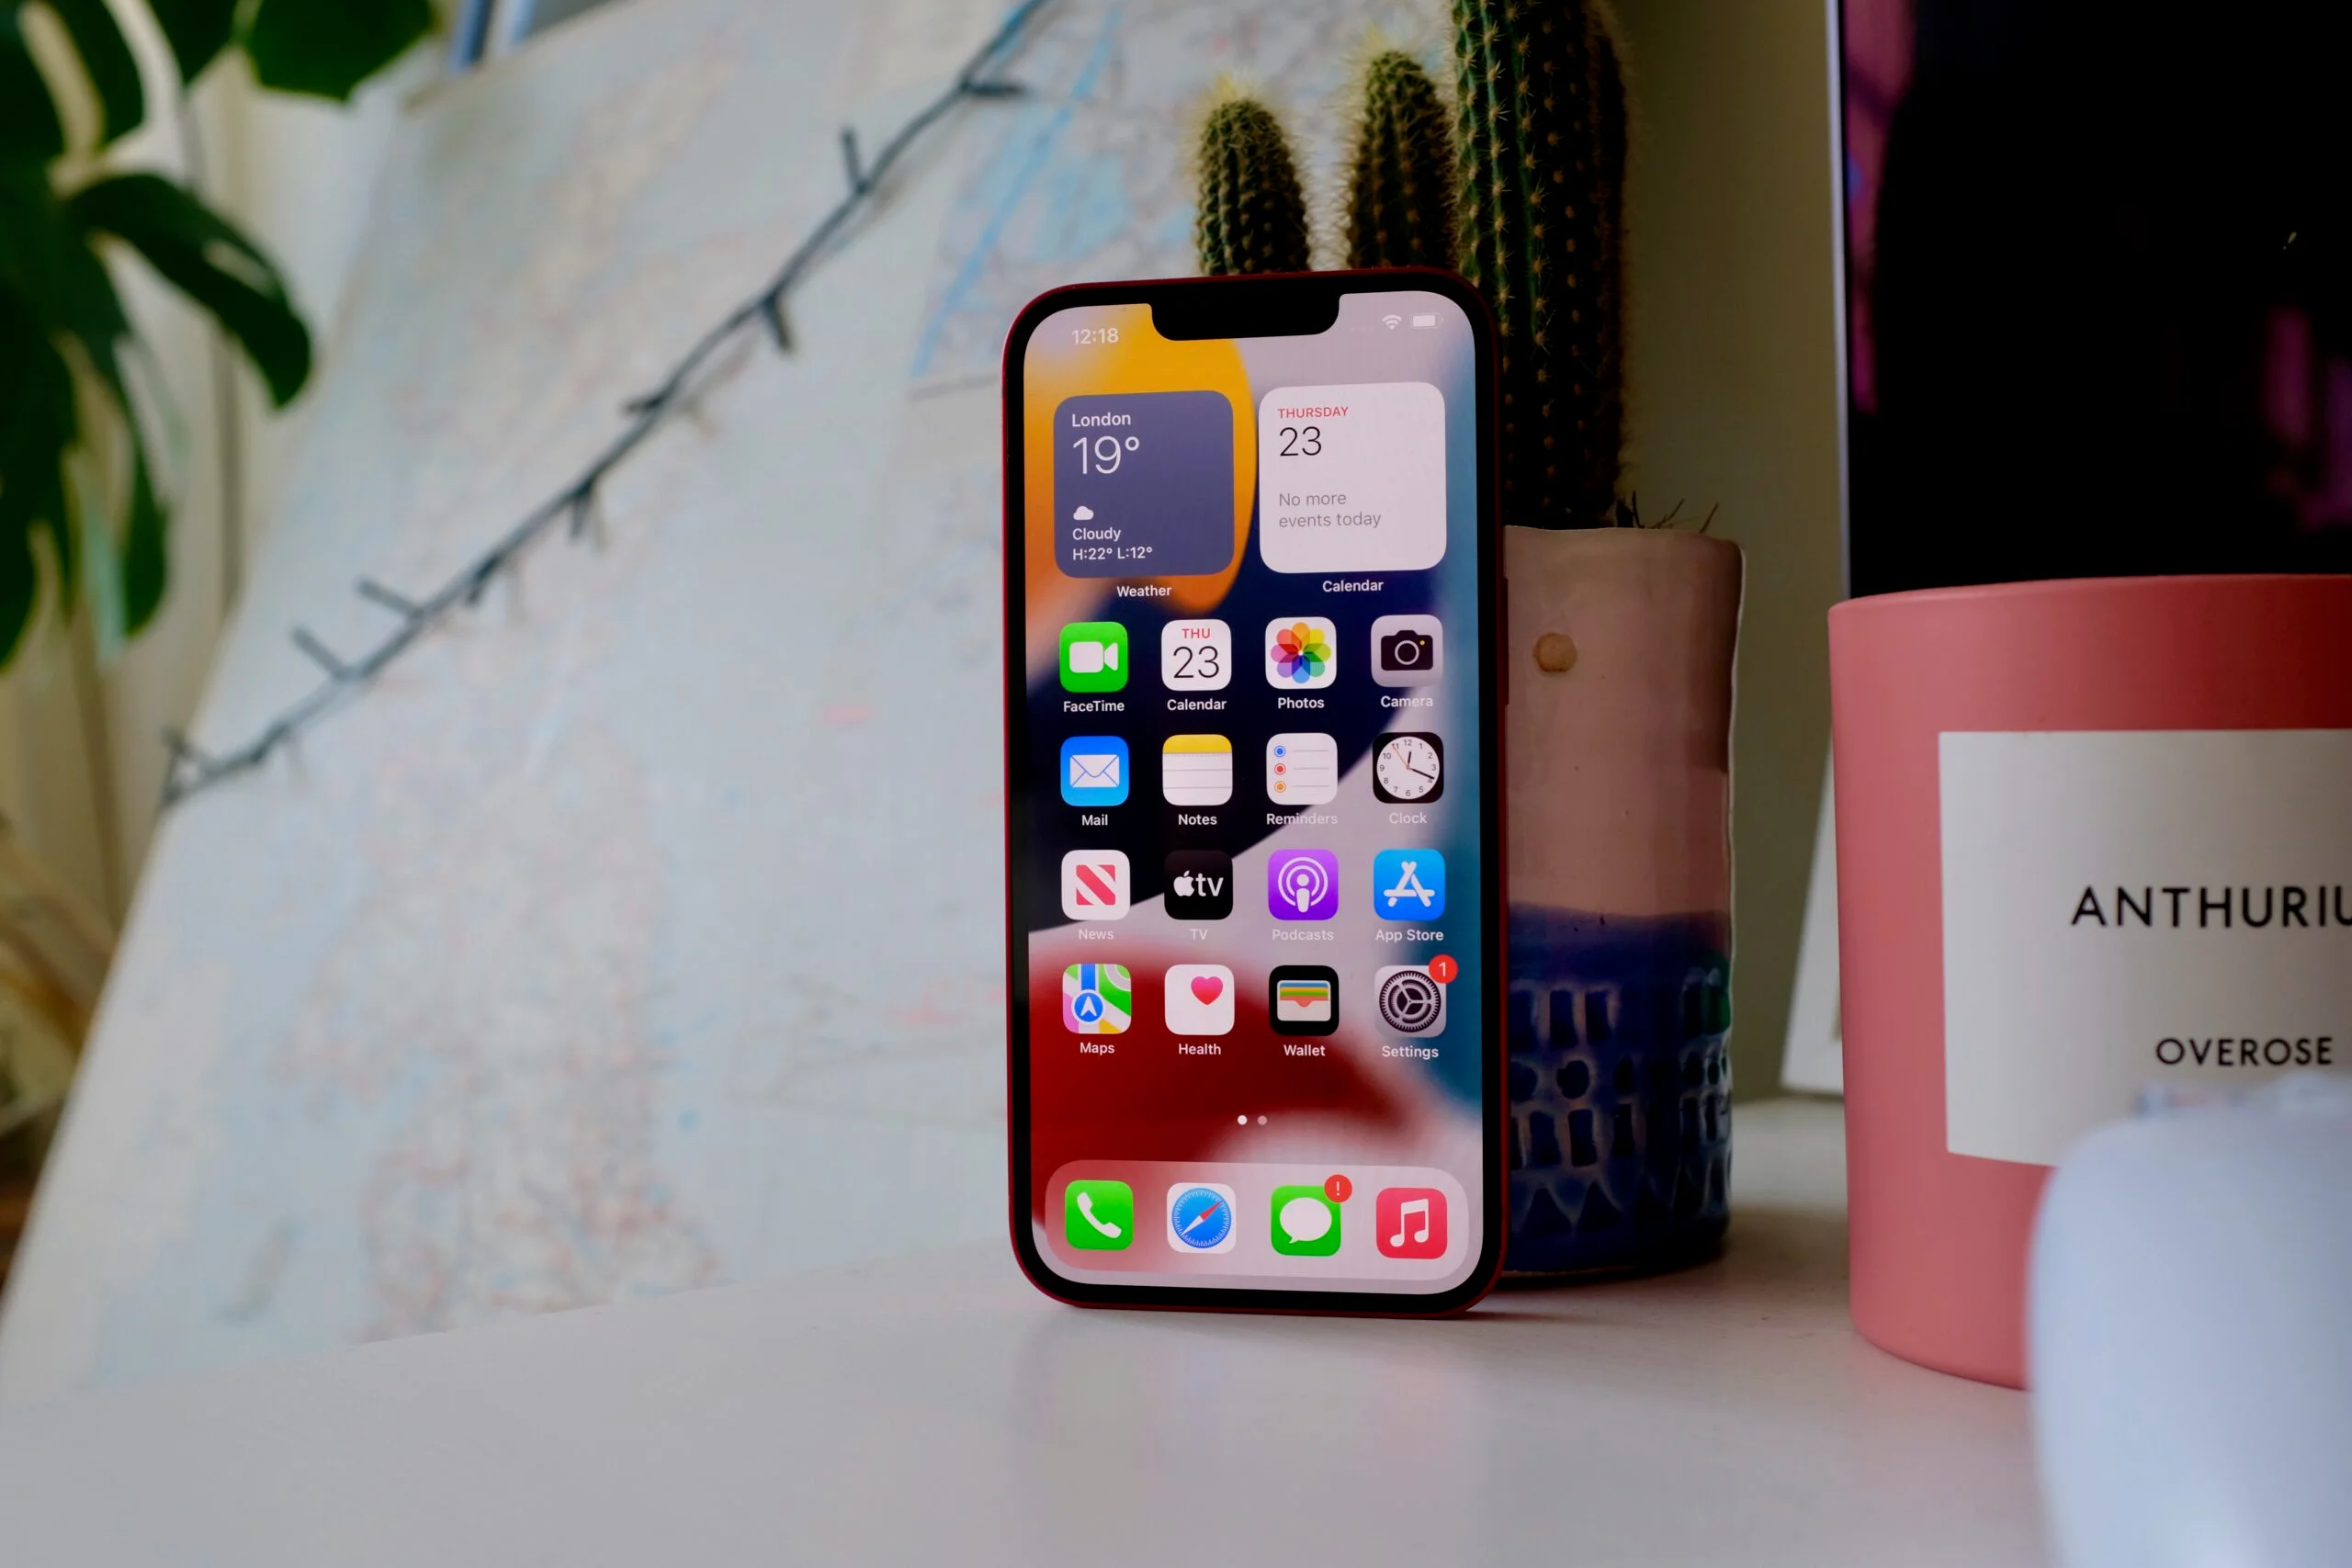
iPhone behaves exactly like a digital camera or external storage device when connecting it to a computer. To transfer your photos from your phone:
– Connect your iPhone to the computer using the included USB cable.
– Choose “Import Images” or “Open Mobile Device” to import the files.
– Import the photos: they are located in the “Internal Storage/DCIM” folder, which may be organized into subfolders.
Tip: This method allows you to sort the photos, group them and copy them to your image folders on the computer. You can also delete them, but be careful; any deletion is final without going through the Recycle Bin.
Good to know: your photos are also backed up when you back up your iPhone with iTunes. However, it is recommended to back up your photos on your computer.
Transfer a photo to your PC from iCloud
If you don’t have the cable to connect your iPhone to your computer and even if you don’t have the iPhone in question at hand, and only if the option to back up photos to the cloud is enabled on your smartphone, you can retrieve your photos using a simple web browser.
– Go to iCloud (https://www.icloud.com/) and enter your login information (iTunes account).
– Click on the Photos application icon.
– Your synced photos will be displayed.
To use iCloud to store your photos:
– Touch “Settings” and then “iCloud” on your iPhone.
– Touch “Photos” and activate “iCloud Photo Library”.
Tip: once the option is activated, you can install the iCloud application for Windows and access your synchronized photos directly from the file explorer.
Send the photo by e-mail.
Finally, here’s a quick and convenient way to retrieve one or more photos from any computer with a web browser, up to a limit of 5 per shipment: send the images to yourself via e-mail.
– Display the photo roll, then touch “Select” and select one to five photos.
– Touch the “Share” button at the bottom left
– Finally, select “Send by e-mail”. Enter your address as the recipient. You will then have to connect to your e-mail via your web browser to access the message and retrieve the photos as an attachment.
Hope this post has helped you out. Remember to share your thoughts in the comments below. Also, should you wish to read on something more specific, please let us know, and we will bring you the necessary information.
Read more:
2 Easy Steps to Connect a Printer to Bluetooth;
7 Cool Steps to Make a Wi-Fi Antenna!;
4 Easy Steps to Increase Wi-Fi Range;
4 Steps For Successful Facebook Advertising;
How to Listen to Online Music;
How to Create a Local Network;
How to Successfully Clean Your PC;
How to Create a Facebook Pro Page;