
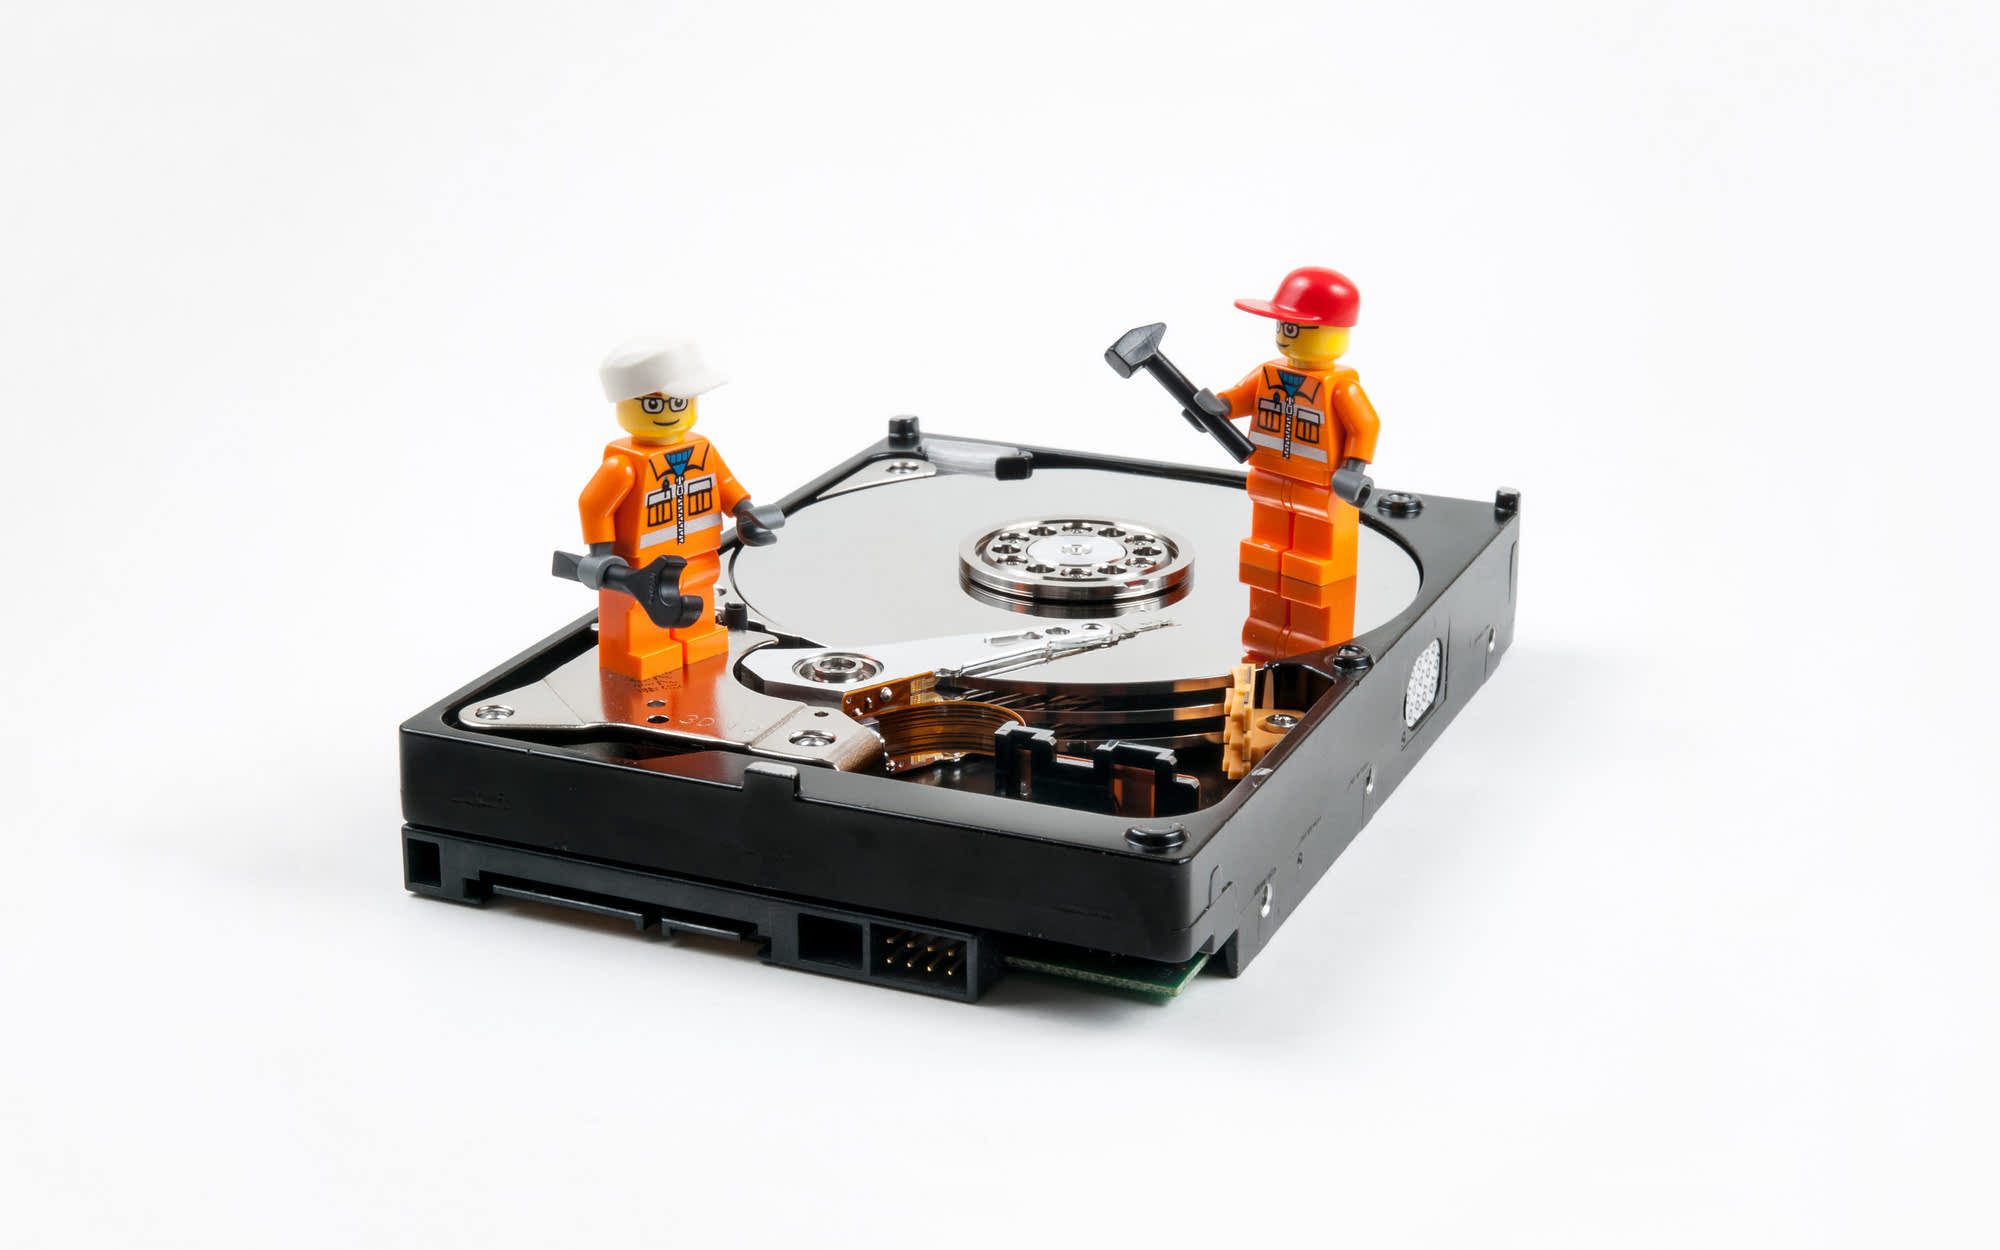
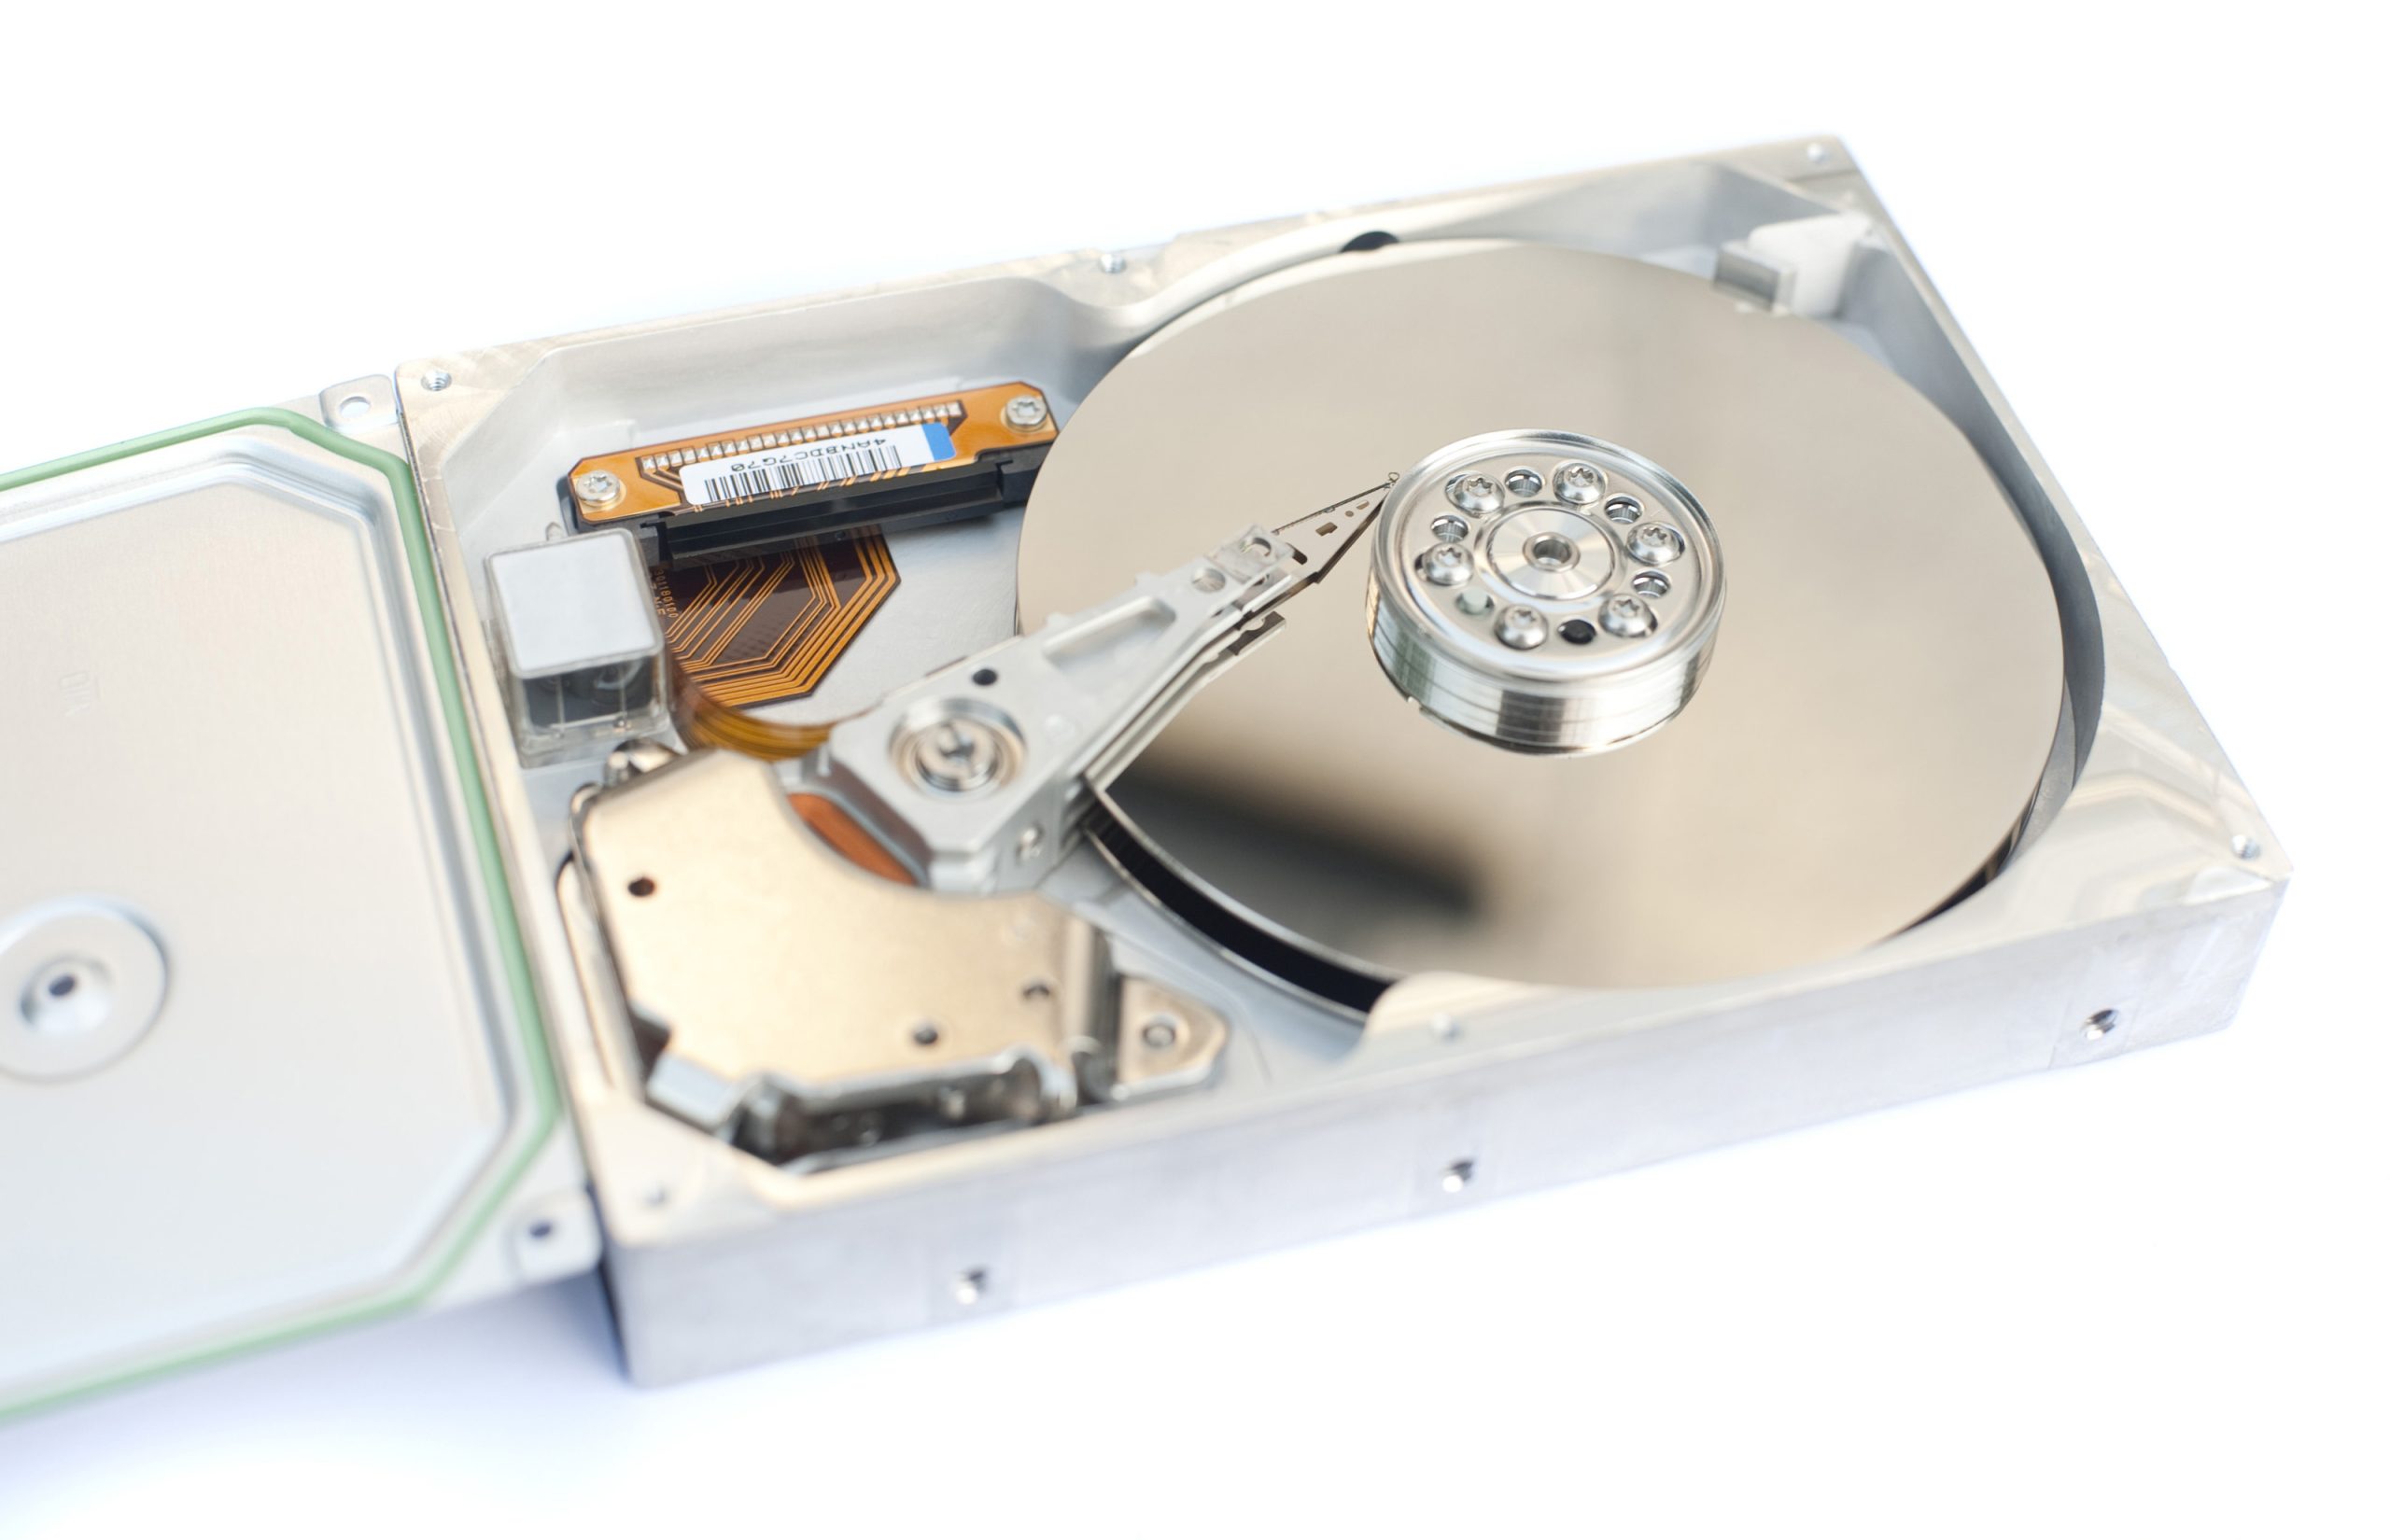
How to Format a Hard Disk
Contents
– Focus on the hard disk and the partition
– Format under Windows 7, 8 and 8.1
– Format under Linux
– Format under Mac OS X
Has your computer become slow, or do you want to optimize its storage space? Then it’s time for you to format your hard disk.
Indeed, whether your computer is equipped with one or several hard disks, whether this hard disk is partitioned or external in USB, it is often useful to format it, i.e., to quickly and definitively erase its contents.
The formatting action is irreversible, so before carrying out this operation, make sure you keep all the data of any value to you on another medium (photos, videos, invoices, administrative documents, etc.).
Whatever your computer’s operating system (Windows, OS X, or Linux), this sheet will guide you through formatting your hard disk correctly.
Focus on the hard disk and the partition
Before you start formatting your hard disk, take the time to understand how your computer is made up:
– The hard drive is the hardware part.
– The partition is the software part of the hard disk. It manages all the space on the disk and uses a file system (HFS, EXT, NTFS, etc.) for use with one or more operating systems (Windows, OS X, Linux).
– A single hard disk can have up to 4 partitions. These partitions can have different sizes and file systems. They will be recognized by the operating system as hard disks that can be managed independently.
Please note that when you format a hard disk, you perform a partition creation operation. This requires using a certain amount of storage space that will no longer be available afterward.
Format under Windows 7, 8 and 8.1
With Microsoft Windows, the action takes place via File Explorer.
1. Start File Explorer from the Start menu or press Windows + E.
2. In the left-hand column of File Explorer, click on Computer for Windows 7 and This PC for Windows 8 and 8.1.
3. On the right side of File Explorer, right-click the hard drive you want to format and then click Format.
4. The window that appears gives you several options, some of which can be changed, others should be left as they are:
◦ You cannot change the Capacity drop-down list.
◦ The File System list allows you to choose formatting to NTFS, selected by default, or FAT32 :
▪ The NTFS option provides more efficient management of the hard drive.
▪ FAT32, on the other hand, offers greater compatibility with older Microsoft Windows systems and Apple OS X systems. However, it does not support files larger than 4 GB (so creating videos will not be possible).
◦ You should not change the Allocation unit size in the drop-down list.
◦ The Volume name field allows you to change the hard disk’s name displayed in File Explorer.
◦ Check the Fast formatting box so that the formatting operation takes only a few minutes. Otherwise, it may take several tens of minutes.
5. After making your settings, click the Start button to start the formatting procedure.
6. A message warns you that formatting will erase all data on your hard disk. Click the OK button to continue.
7. Formatting is quite fast, even for large hard disks. At the end of the procedure, a message informs you that the formatting has been completed. Click the OK button to finish.
8. You can close all windows.
Please note that the formatted hard disk cannot be the primary hard disk. In this case, it is a more complex operation.
Format under Linux
Under Linux, there is a free program to perform the formatting task efficiently: it is GParted. You must first download and install it on your computer (in the case below, the program is installed on Ubuntu 14.04).
Install the GParted program
Here is how to install the GParted program:
1. Click on the Ubuntu Software Library icon in the Launcher (sidebar on the left).
2. The Ubuntu Library window opens. Type GParted to start searching for the program.
3. Once the results are displayed, click on GParted Partition Editor and then the Install button on the right.
4. Authenticate yourself with your password to install the software.
5. The installation will start, and the progress bar will show you its progress.
6. The GParted icon is placed in the Launcher at the end of the installation.
Format the hard drive
Now that Gparted is installed, you can use it to format your hard drive:
– Click the GParted Partition Editor icon in the Launcher.
– Authenticate yourself with your password to use the software.
Select the hard drive you want to format using the drop-down list at the top right in the GParted window.
– In the table, right-click on the mouse and then click on Format. If the Format command is grayed out, first click Unmount.
– Then right-click on the mouse and click on Format to choose your formatting option:
◦ EXT options are dedicated to Linux, and it is best to choose EXT4, which is the latest and greatest.
◦ The FAT and NTFS options are dedicated to Windows. Even if you are on Linux, this allows compatibility with Microsoft Windows systems. Select NTFS for compatibility with Windows systems from version 2000 to now, and FAT16 or FAT32 for older versions.
◦ The Linux-Swap option helps create a swap space drive for a Linux system. Swap space is used by Linux when the RAM is full.
– Click on the option of your choice. Formatting does not start immediately, but the command is added to a task list. So, if you have other hard drives to format, you can follow the same procedure to add formatting to the GParted task list.
– Once you have defined your tasks, click on the green checkmark in the GParted window.
– Validate your request by clicking on the Apply button in the window that appears.
– Once the formatting is complete, click on the Close button. You can quit GParted; your hard disk is ready.
Note: A swap space (Linux-Swap) is automatically created with a space allocated by the system when a Linux system is installed. It can be helpful to make another one on another hard disk to improve the general performance of your system.
Format under Mac OS X
Mac OS X 10.10, known as Yosemite, has its tool for formatting hard drives, internal or external.
Start by opening the OS X tool, namely the Disk Utility:
– Press Ctrl + Space to bring up the Spotlight search field (OS X’s search engine).
– In the field that appears, start typing “Disk Utility”. You will be presented with results, so double-click on Disk Utility.
– In the left column of the Disk Utility window, click on the disk or partition you want to format.
Please note: if you select a hard disk with several partitions, they will be deleted and merged into one.
– On the right side, click on the Delete button.
– In the Format drop-down list, select the desired file system:
◦ Mac OS Extended (journaled) is the basic Format for Apple OS X systems.
◦ Mac OS Extended (journaled, encrypted) is the same as the previous one with data encryption in addition and requiring a password.
◦ Mac OS Extended (case sensitive, journaled) allows Spotlight to differentiate between the lower and upper case when searching.
◦ Mac OS Extended (case sensitive, journaled, encrypted) is the same as the previous one with data encryption added.
◦ MS-DOS (FAT) is intended for Windows systems but does not support files larger than 4 GB.
◦ ExFAT is designed for Windows systems, without file size limit, but incompatible with older versions of Windows (95 and 98, for example).
Note: you can add the Windows NT file system option (Tuxera NTFS) with the Tuxera NTFS for Mac software. This software can be purchased from the Tuxera website and allows you to manage NTFS partitions typically not operated by OS X.
– After choosing the file system for your hard disk, continue the formatting procedure. In the Name field, enter the name you want to give to the disk.
– Click the Clear button to continue.
– If you have chosen an encrypted file system, an additional window will appear:
◦ Enter the encryption password in the New Password field.
◦ Re-enter the password in the Confirmation field (you can add a hint in the Hint field to find it again if you forget).
– Click the Clear button to start formatting.
– With or without encryption, the formatting starts. The progress of the operations is indicated by the progress bar. It may take more or less time, depending on the capacity and performance of the hard disk.
– At the end of formatting, the hard disk is ready and accessible in the Finder. You can quit the Disk Utility.
Hope the information in this post helps you in formatting your hard disk. Remember to share your experience in the comments below.
One reply on “How to Format a Hard Disk”
[…] How to Format a Hard Disk; […]