How to Create a Facebook Pro Page
Summary
Step 1: Create a Facebook Pro Page
Step 2: Customize your Facebook pro page
Step 3: Publish content on your Facebook pro page
Step 4: View your page statistics
Step 5: Name your Facebook pro page account
Creating a Facebook business page is free and takes only a few minutes. It is now a marketing tool almost impossible to circumvent for any business, company, brand, or even personality wishing to have visibility on the Internet. A Facebook page allows you to get known, promote products and events, or simply communicate with your customers (your fans).
Here is a step-by-step guide on how to create a Facebook pro page.
1. Create the Facebook pro page

Warning: professional pages are created for official representatives of the entities concerned. In other words, you can only generate a Page if you are the authorized owner of a brand, the authorized representative of the company or business, etc.
To create a Page, you must have a personal Facebook account, even if you do not contribute to it.
From your personal Facebook account:
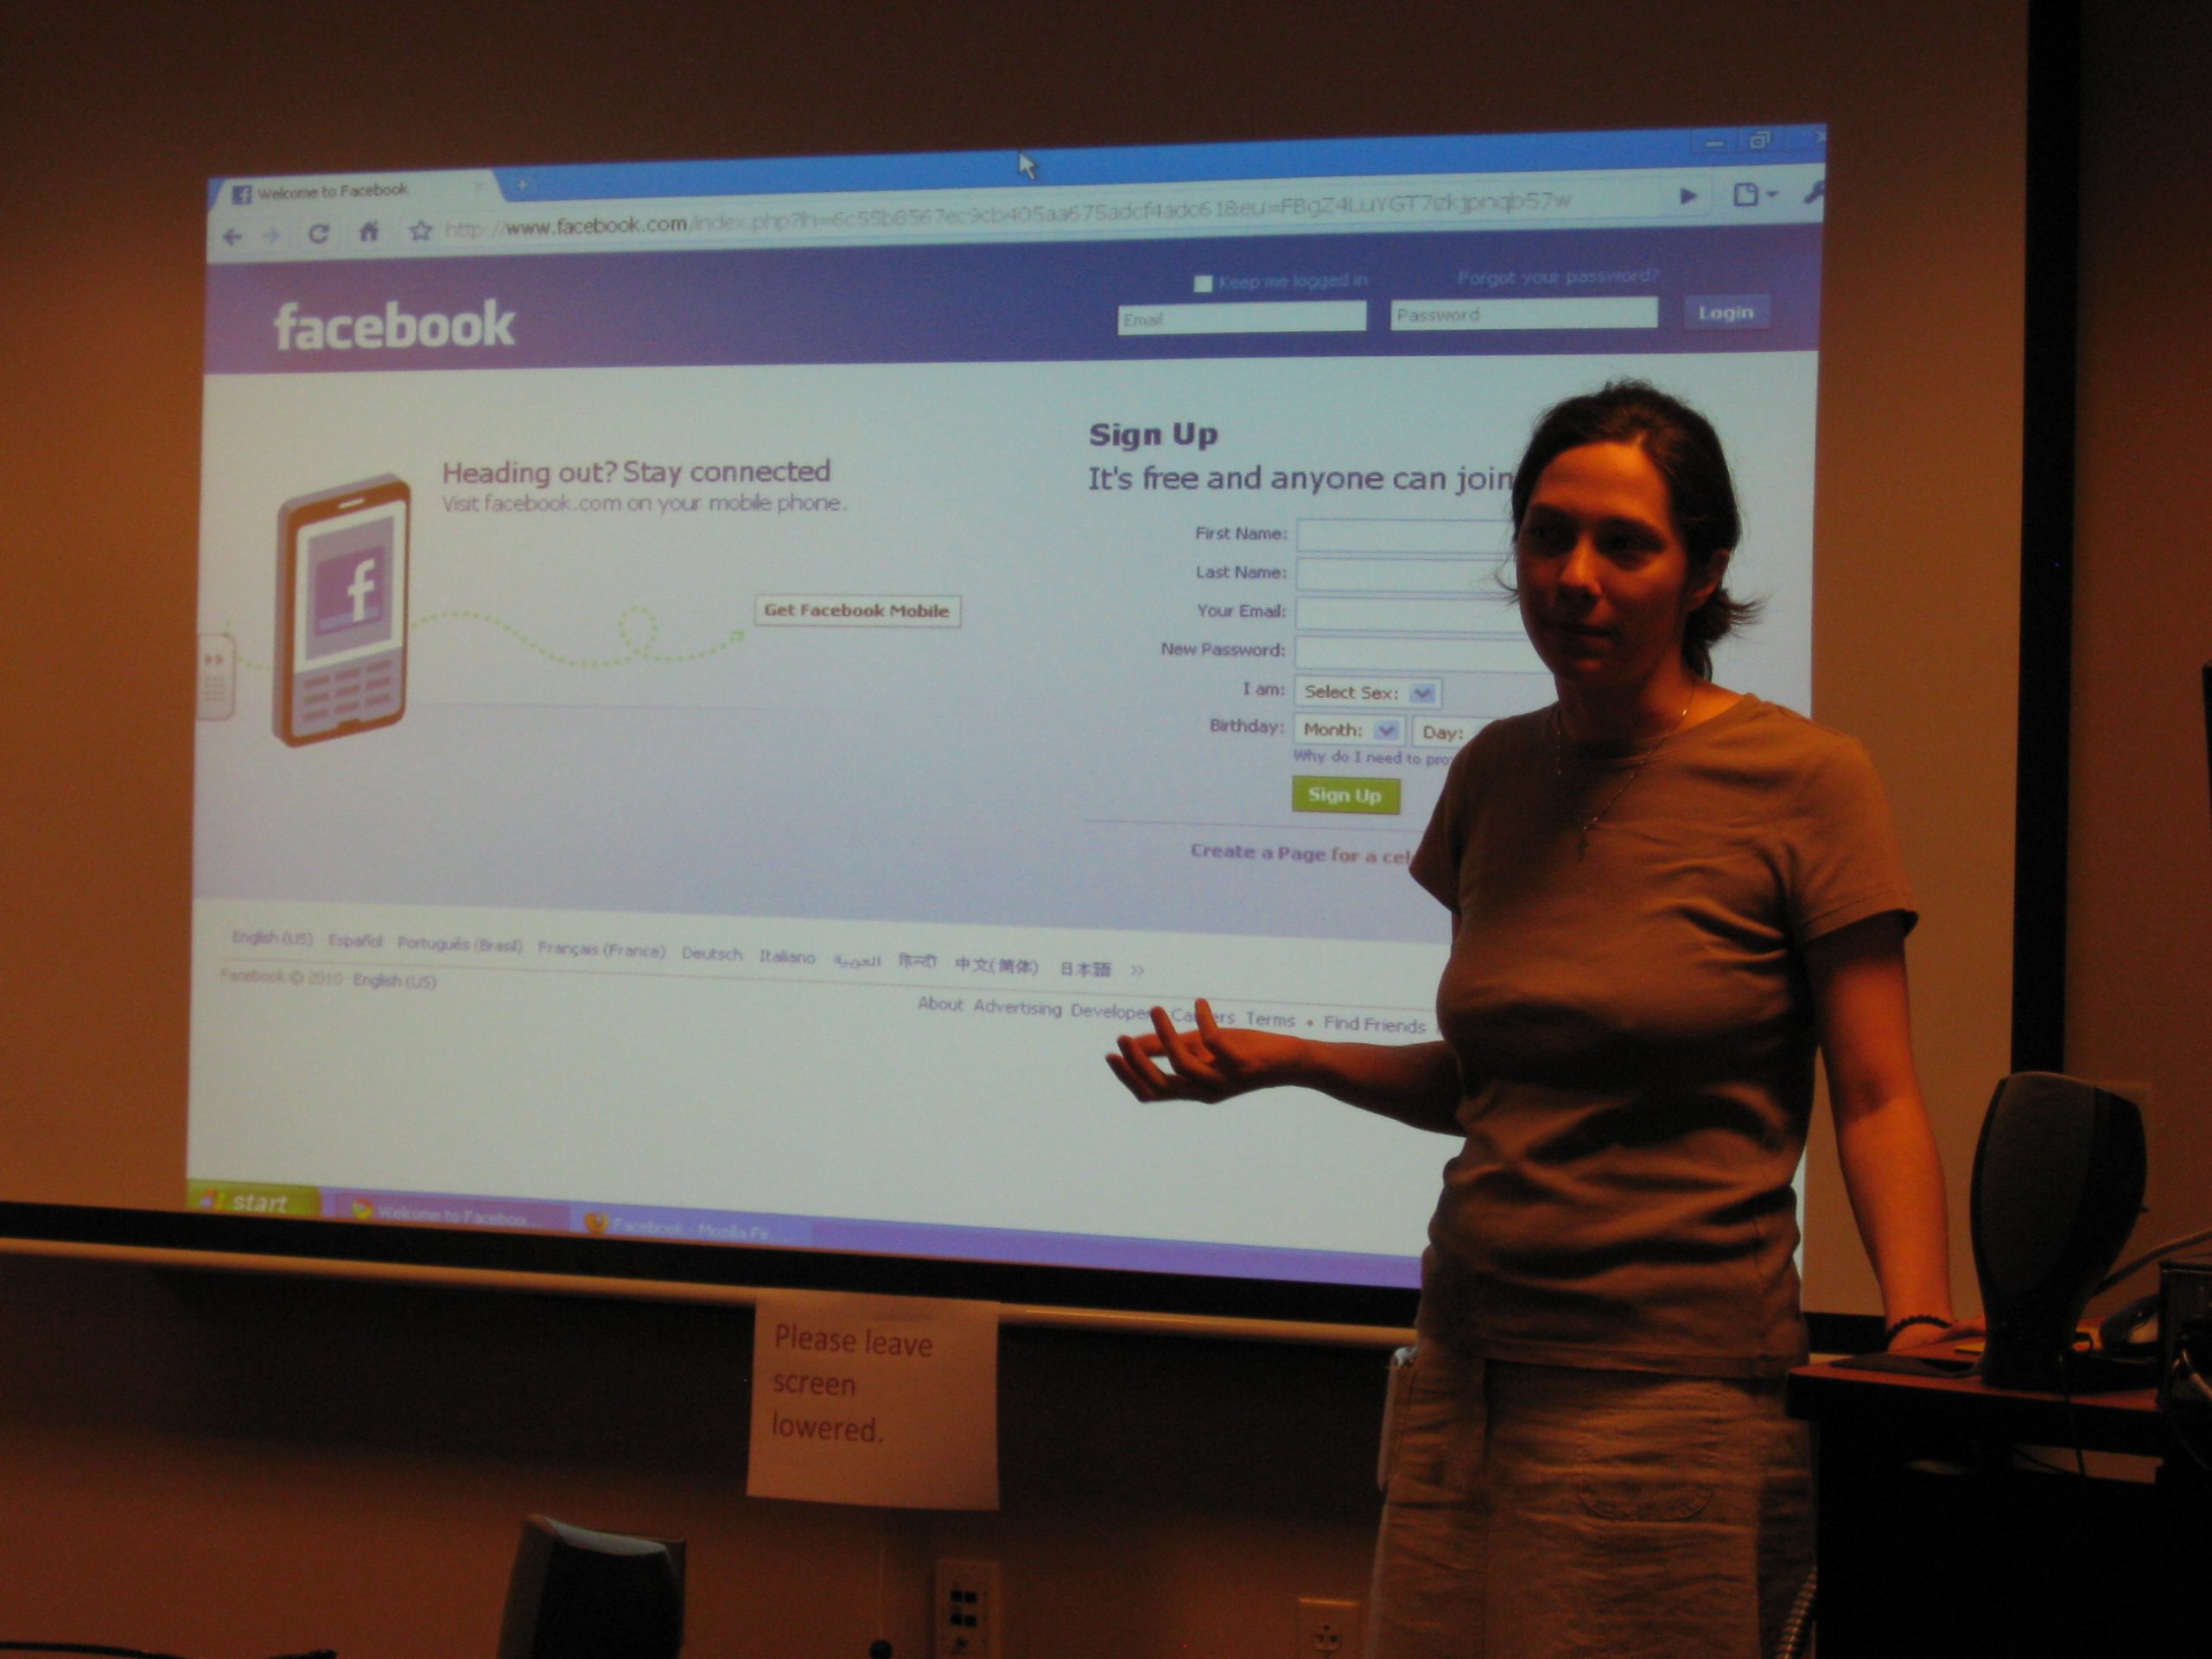
Go to the home page.
Locate and click on the “Create a Page” button in the upper right-hand corner.
Choose the type of entity you are: local business, company, organization or association, brand or product.
Provide Facebook with the information requested in the registration form.
Agree to (and read) the Facebook Page Terms and Conditions.
Finally, click on “Get Started”.
2. Customize your Facebook Pro Page
Customize your Page:
Start by adding a photo (your logo, for example).
Include helpful information for your customers (your fans): the address of your store or your website, your opening hours, your phone number, your email address, etc.
Your page is ready!
Then:
Facebook suggests you become the first fan of your page: click on “Like”.
Facebook also suggests that you invite your friends to like the Page: if you want to send invitations, follow the procedure, guided by the instructions that appear on your screen.
Good to know: you can create as many Pro Pages as you want.
3. Post content on your Facebook Pro Page
Note: it is essential to update your Facebook page regularly. Unlike a website, the essence of a Facebook page is to be “alive”.
You can post written content, photos, videos, or links:
Locate the “Write Something” area.
Write or upload the content of your post (do this in the same way you would post a status on your personal Facebook account).
Click on “Publish”.
4. View your Page’s statistics
As soon as your Page reaches 25 “Likes”, Facebook will give you access to your audience statistics:
Click on “Statistics” in the horizontal menu at the top of your Page.
The “Overview” is displayed with a page summary: shares, number of views, “Likes”, reach and engagement with posts, etc.
Choose a category from the sidebar on the left side of the page to see details about promotions, mentions, actions, events, etc.
Note: these administration and statistics display options are, of course, only visible to the page creator. You can add other administrators or editors.
5. Name the account of your Facebook pro page
As soon as your page reaches 25 “Likes”, Facebook allows you to choose an “account name”. This will give you a simplified address.
Good to know: Your Page ID must not have already been chosen by another business Page or Facebook member. Facebook assigns a default account name based on the Page name, but you can change it.
Go to your Business Page, and then:
Click “About.”
In the “General” section, click “Edit” next to “Account Name.
Enter the desired account name.
Then click on “Create a username”.
Here you go. Please remember to share and comment below.


2 replies on “How to Create a Facebook Pro Page”
[…] How to Create a Facebook Pro Page; […]
[…] How to Create a Facebook Pro Page; […]