
How to Install a Printer
Contents
The different connections of a printer
The main stages of installation
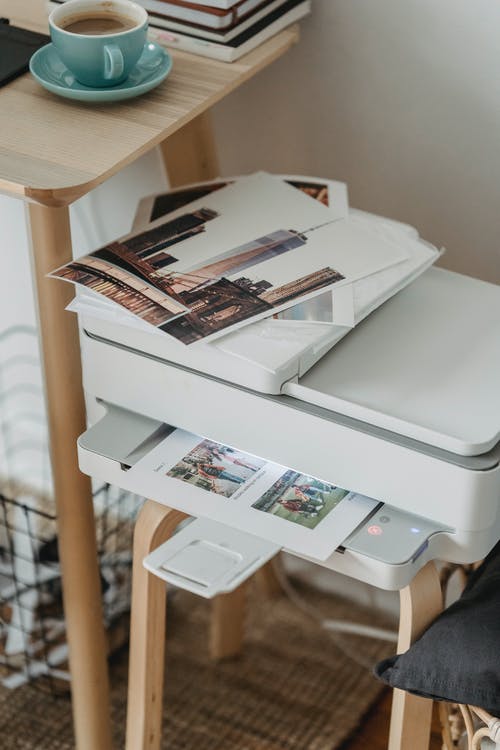
Installing a printer is becoming increasingly simple!
For your printer to be able to communicate with your computer, it must be recognized by it.
A software program called a driver or printer driver is used to install the printer and configure the printing parameters (size of the margins, normal/draft mode, etc.).
Even if the printer driver is almost always included (it is a CD) when you buy your printer, many computers already contain software for a fairly wide range of standard printers.
Good to know: some manufacturers do not (or no longer) supply an installation CD with the printer; in this case, they indicate on the product sheet the link on their Internet site where to download the installation software or driver.
The different connections of a printer
There are 3 main connections for a printer:
- The USB wired connection, via the USB port, for personal use;
- The wired Ethernet connection, via the RJ45 port, for personal use or to share it on an intranet;
- The non-wireless Wi-Fi link (for personal use or to share between several users) is convenient if you have a laptop.
Note: the multifunction printer with fax is a particular case and requires an additional connection: the fax is connected to the telephone socket or the Internet operator’s “box” (modem/router) via a telephone cable.
The main steps of the installation
Whatever connection you choose for your printer, Wi-Fi, or wired, the first stages of the installation are wired via the USB or Ethernet port.
The installation CD is included with your printer.
Steps for a wired connection
First, check the compatibility between your computer’s operating system (OS) and the printer driver.
Compatibility is mentioned for Windows or Mac OS operating systems.
Note: You don’t have to do anything with recent versions of these OS! Once your printer is plugged in, connected, and switched on, your computer recognizes it and installs the proper driver by itself.
With the Linux operating system, compatibility is not always specified, or the driver is not included on the CD. Don’t panic: the manufacturers provide a specific Linux driver on their website.
You can use the USB or RJ45 wired connection for the installation.
You will find below the main steps to follow:

1. Connect the printer to the mains.
2. Connect the printer to your computer via the USB or RJ45 port.
3 Switch on your printer (and your computer if it is not already done).
4. If the installation was not done automatically, insert the installation CD included with your printer or download the driver from the manufacturer’s website.
The installation process starts by itself; if not, from your computer:
On Windows, go to “Printers and peripherals” and click on “Add”.
On MAC OS, go to “System Preferences”, then “Printers and Scanners,” and click on “Add”.
5. During the installation, you can:
Authorize the sharing of your printer: check the “Share the printer” box;
Install additional software (e.g., photo editing software).
6. Remove the CD and restart the computer if requested.
7. Print a test sheet (your computer often suggests this) to see if your printer is correctly installed and set up.
Steps for a Wi-Fi connection
You must carry out the 7 steps of the wired connection installation to perform the Wi-Fi installation.
There are only 3 steps left:
- Validate the Wi-Fi function on your printer (often a button with a blue LED).
- Set the driver correctly to validate Wi-Fi before disconnecting the USB cable.
- Print a test sheet to check that your printer is correctly installed.
Good to know: the Wi-Fi configuration is possible directly from your printer but can be laborious, as you will have to enter the Wi-Fi network encryption key manually.
Steps for a BlueTooth connection
For a connection with your computer, it is preferable to have completed the 9 steps of the installation in wired connection must be done to install BlueTooth.
In this case, complete the installation with the following steps:
If necessary, validate the BlueTooth function on your printer.
On your computer,
On Windows, go to “Device management” then “BlueTooth”; your printer is recognized; activate the BlueTooth function.
On MAC OS, go to “System Preferences”, then “BlueTooth,” or directly on the BlueTooth symbol in the menu bar; the Bluetooth settings assistant appears and recognizes your printer; select your printer; you can choose to set a password (code) between your printer and your computer; then click on “OK” or “Quit”; activate the BlueTooth function.
Print a test sheet to check that your printer is correctly installed.
Good to know: some manufacturers have developed BlueTooth drivers. You can download and run them: you have to follow the instructions. Download and launch this driver if your printer is not recognized.
For a connection with your smartphone or tablet:
Most printer manufacturers have developed mobile applications (Applications or Apps) that enable you to quickly configure your smartphone or tablet in BlueTooth with your printer: download the corresponding application.
All you have to do is:
If necessary, validate the BlueTooth function on your printer.
Validate the BlueTooth function on your smartphone or tablet and stay close to your printer.
Launch the mobile application and follow the instructions.
Print a document to test: open the document on your smartphone, choose “share”, and “print”.
One reply on “How to Install a Printer”
[…] How to Install a Printer; […]