How to Change a Printer Ink Cartridge
Contents
– Step 1: Choose your replacement cartridges
– Step 2: Prepare your new printer cartridges
– Step 3: Change Your Printer Cartridges
Inkjet printers work on a simple principle: tiny needle-like nozzles produce an air bubble that ejects an extremely fine droplet of ink onto the paper. The ink cartridges form a “reservoir” that naturally empties as it is used. Some inkjet printers work with four cartridges (one for each primary color: blue, red, yellow, and one for black), others with only two (one for the colors and one for the black). Whatever the case, the principle for changing a cartridge is more or less the same from one printer model to another.
Here is how to change a printer cartridge.
1. Choose your replacement cartridges

When your cartridges start to run low, a message appears on your computer screen. A light on the printer itself will tell you which cartridge(s) to change.
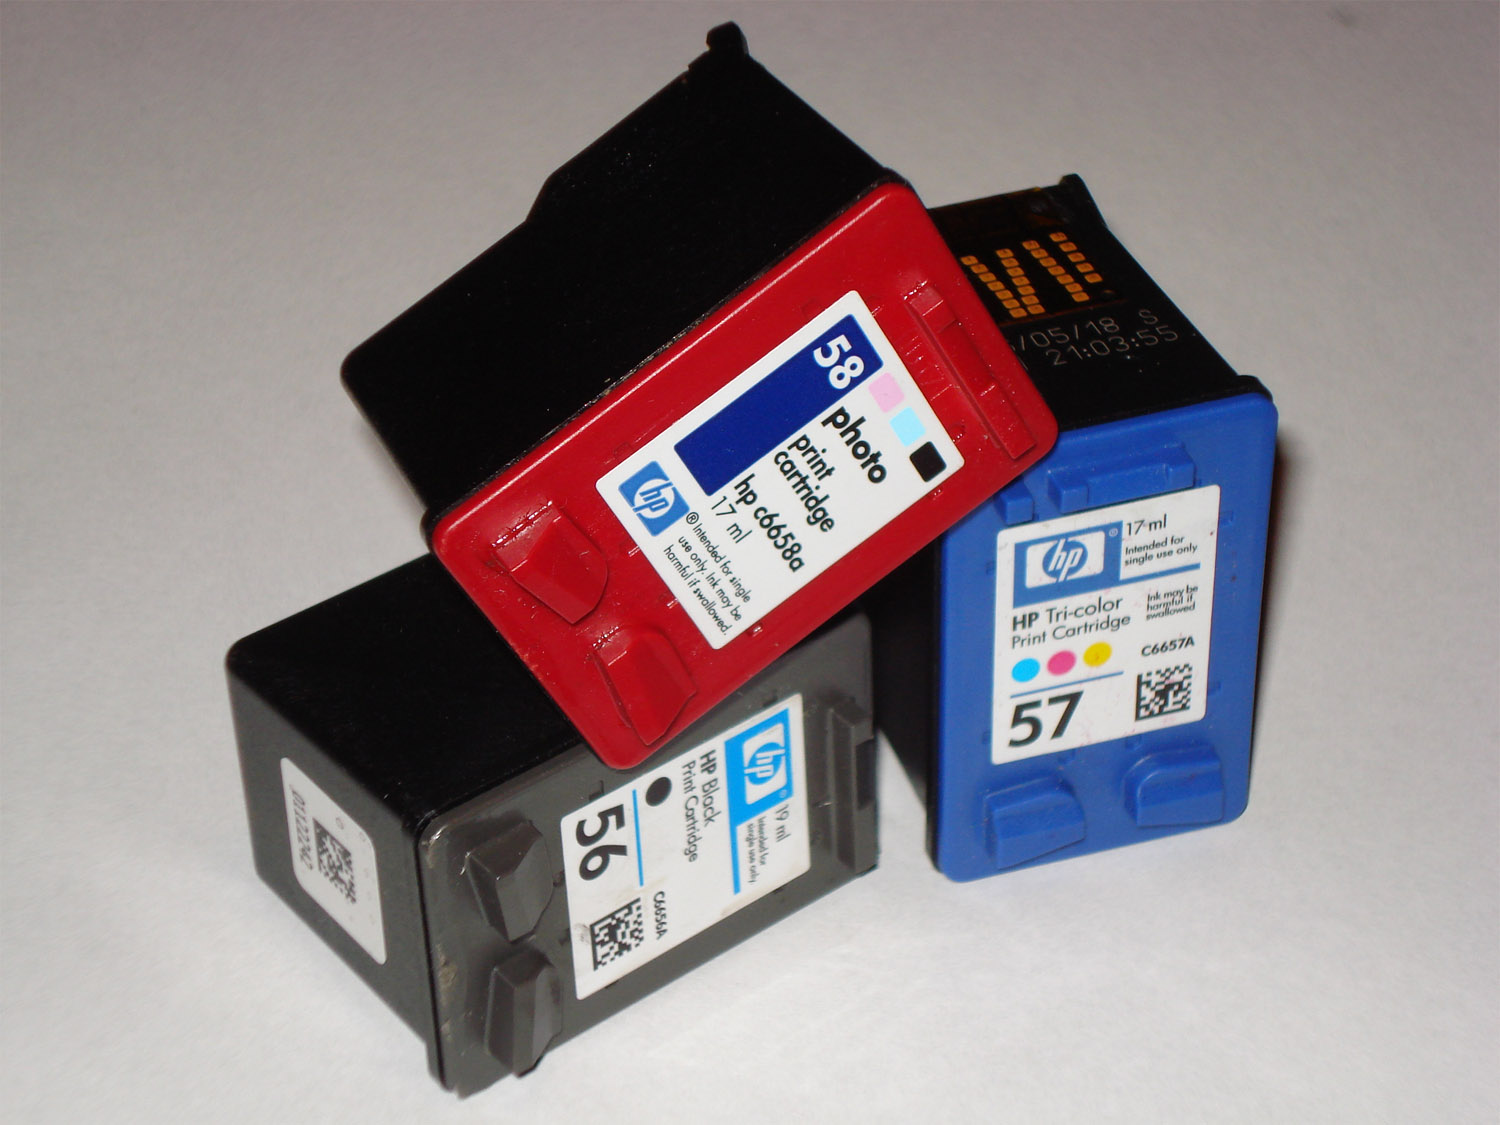
Even before you remove the empty cartridges from your printer, you need to purchase new cartridges that match the make and model of your printer. You can buy “original” cartridges online or in specialized stores, but there are also compatible or recycled cartridges:
The “original” cartridges are those made by your printer manufacturer. They benefit from a full manufacturer’s warranty and almost no defect rate. Please note that some printers only accept original cartridges designed for this purpose (specific Lexmark models, in particular).
– Compatible” cartridges are new cartridges made by another manufacturer. They are manufactured to reproduce the same function and quality as the original cartridges but have the advantage of being much less expensive (sometimes up to half the price). The print quality can vary from one manufacturer to another, but these cartridges are generally very satisfactory.
– Recycled cartridges – also known as remanufactured – are original cartridges that have been collected, cleaned, sometimes repaired, and refilled after their first use. These products have the advantage of being economical, but above all, they are environmentally friendly since they significantly reduce the amount of waste produced. In some cases, the printing quality and the yield of such cartridges can even be superior to the original ones. You can therefore have your empty cartridges refilled for reuse. Nevertheless, it is necessary to choose suppliers who guarantee rigorous quality control.
In any case, be sure to select cartridges compatible with your specific printer brand and model. There are almost as many cartridges as there are models!
Note: Do not remove empty cartridges for too long before inserting the new ones, as the print heads will dry out quickly and become unusable. Buy and prepare your new cartridges beforehand.
2. Prepare your new printer cartridges
Once you have purchased your replacement cartridge:
– Shake it gently in its packaging; you will get better results for the first prints.
– Next, remove it from its packaging, taking care to touch only the plastic part of the case.
– Carefully remove the protective tape.
Caution: Do not touch the copper contacts or the nozzles! Doing so may damage or clog them and cause staining.
3. Change the cartridges of your printer

Replacing the cartridges is one of the operations done with the machine switched on. When you open the cover while the printer is switched on, the print head and the cartridges move, and you can then access them.
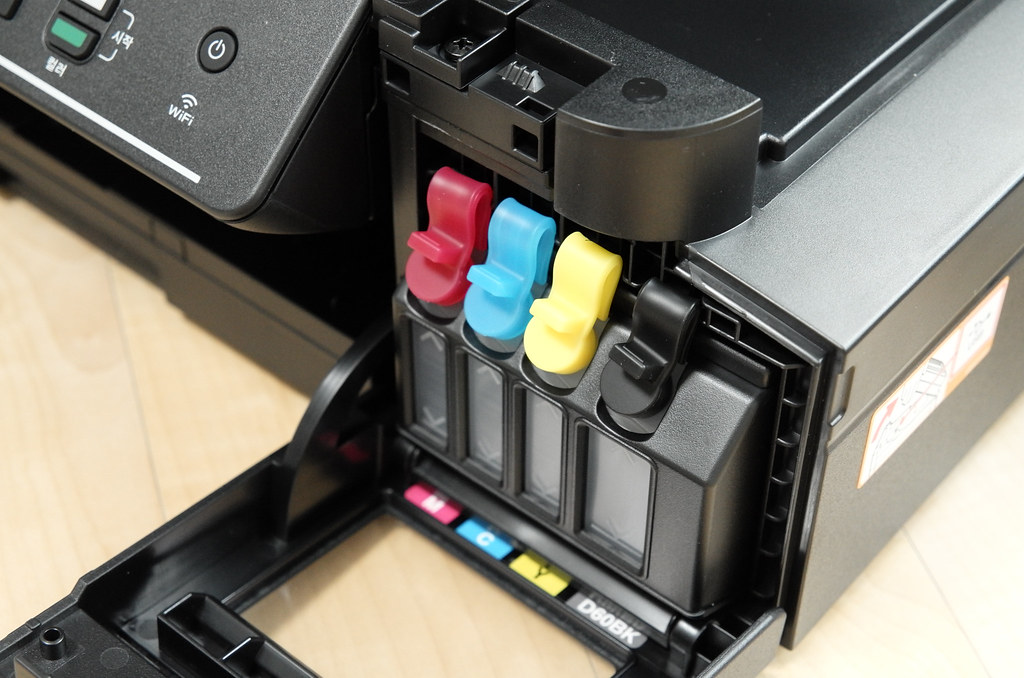
– If your printer has a protective lever above the cartridges, lift it.
– Remove the empty cartridge by pulling it gently towards you.
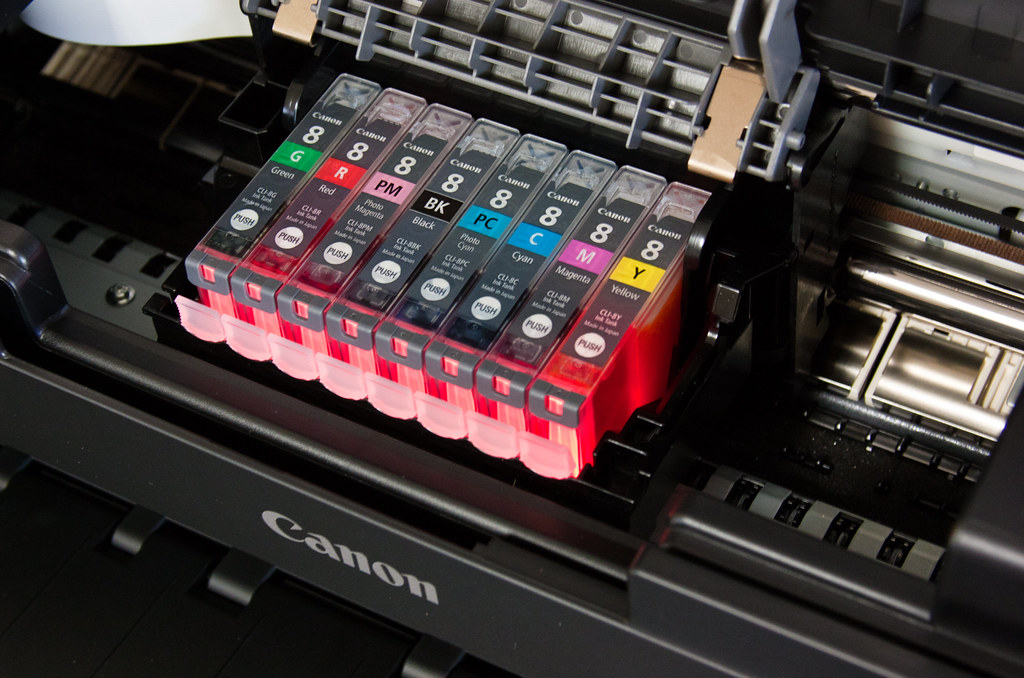
– Insert the new cartridge at the same angle as the old one. The cartridge should snap in automatically.
– Repeat with any other cartridges you may need to change.
– Close the lever and then close the printer cover.
– It is wise to finish the operation by aligning the new ink cartridges. Use your printer’s utility to print an alignment page and proceed with the vertical adjustment of the nozzles.
Your printer is ready to print!


2 replies on “How to Change a Printer Ink Cartridge”
[…] How to Change a Printer Ink Cartridge; […]
[…] How to Change a Printer Ink Cartridge? […]