
Do you wish to take beautiful landscape photos with your iPhone? Then, you are not alone! Good landscape photography is not very easy, as I’ve personally experienced! However, if you follow these expert tips, you’ll be richly rewarded with wonderful pictures from your iPhone!

1. Get the horizon straight
Fortunately, there are two simple ways to ensure that you never get a slanted horizon again. The first way uses the iPhone camera grid. Simply align your horizon using the grid lines that you will obtain by selecting the Grid option when your camera is turned on. It’s that easy! This is how I align the horizon in my photos! If you already slanted your images, simply open the photo in the Photos app, tap edit, and then select the rotate tool. Then, hold your finger on the number scale that appears below your image. Move left or right to adjust the angle of the photo. Once the photo has a straight horizon, simply release your finger from the screen and tap Done.
2. Avoid bright sunlight
How is the light? Do you agree that you might be in the most stunning location imaginable, but your photos will be flat and lifeless if the lighting is poor? You should always try to avoid the noon and early afternoon sunlight. By doing so, you will avoid:
-
Lens flare
-
Strong shadows
-
Overexposed whites
-
Blurry images
Also, the light is soft and golden during sunrise or just before sunset.

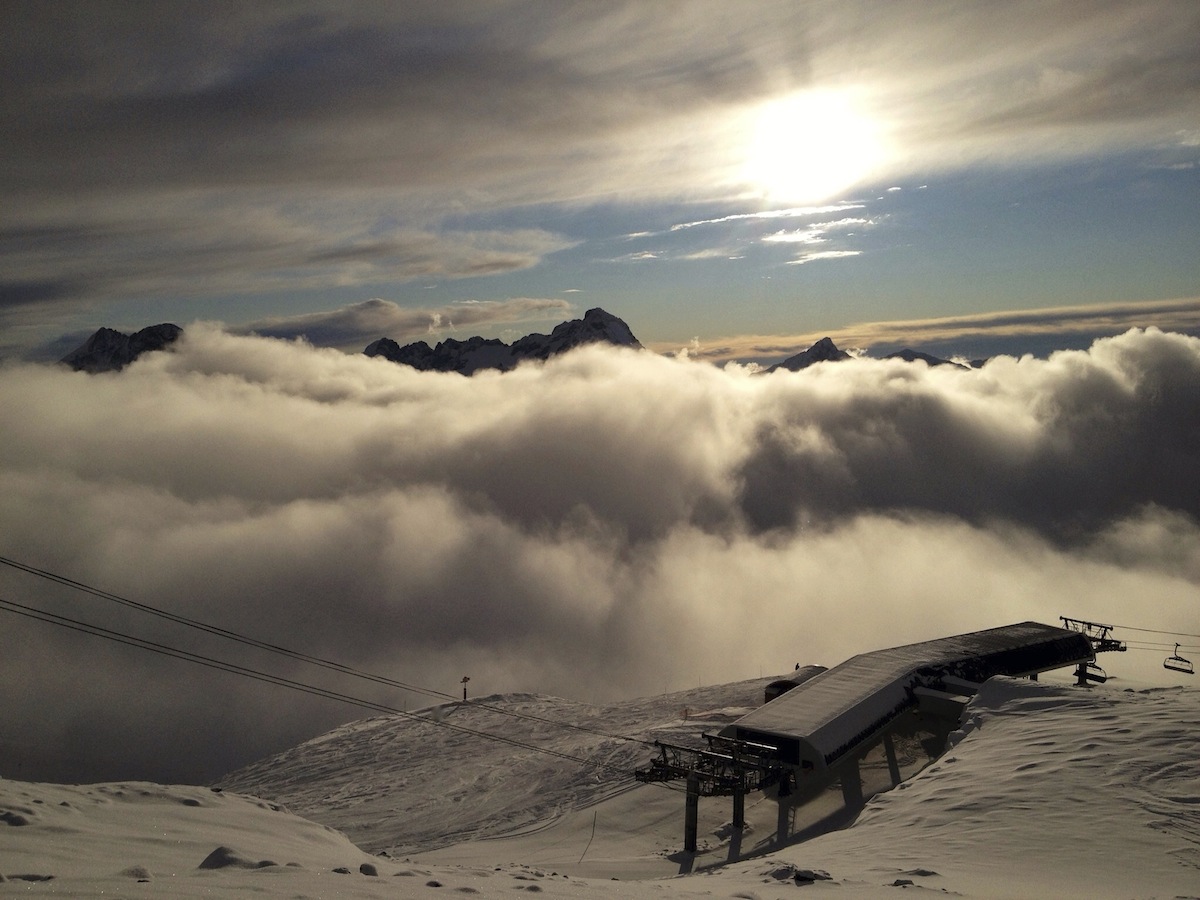
3. Capture impressive skies for compelling photographs
Want to create a dramatic photo? Then, you should take note of clouds, sunsets and weather instead of just the land, as these factors play a great role in the strength of your photo. Therefore, keeping an eye on the weather forecast will be handy! For instance, wait for the sky to be stormy for moody images. Furthermore, for cheerful images, shoot on days with a clear sky! I get the best results when I capture impressive skies!
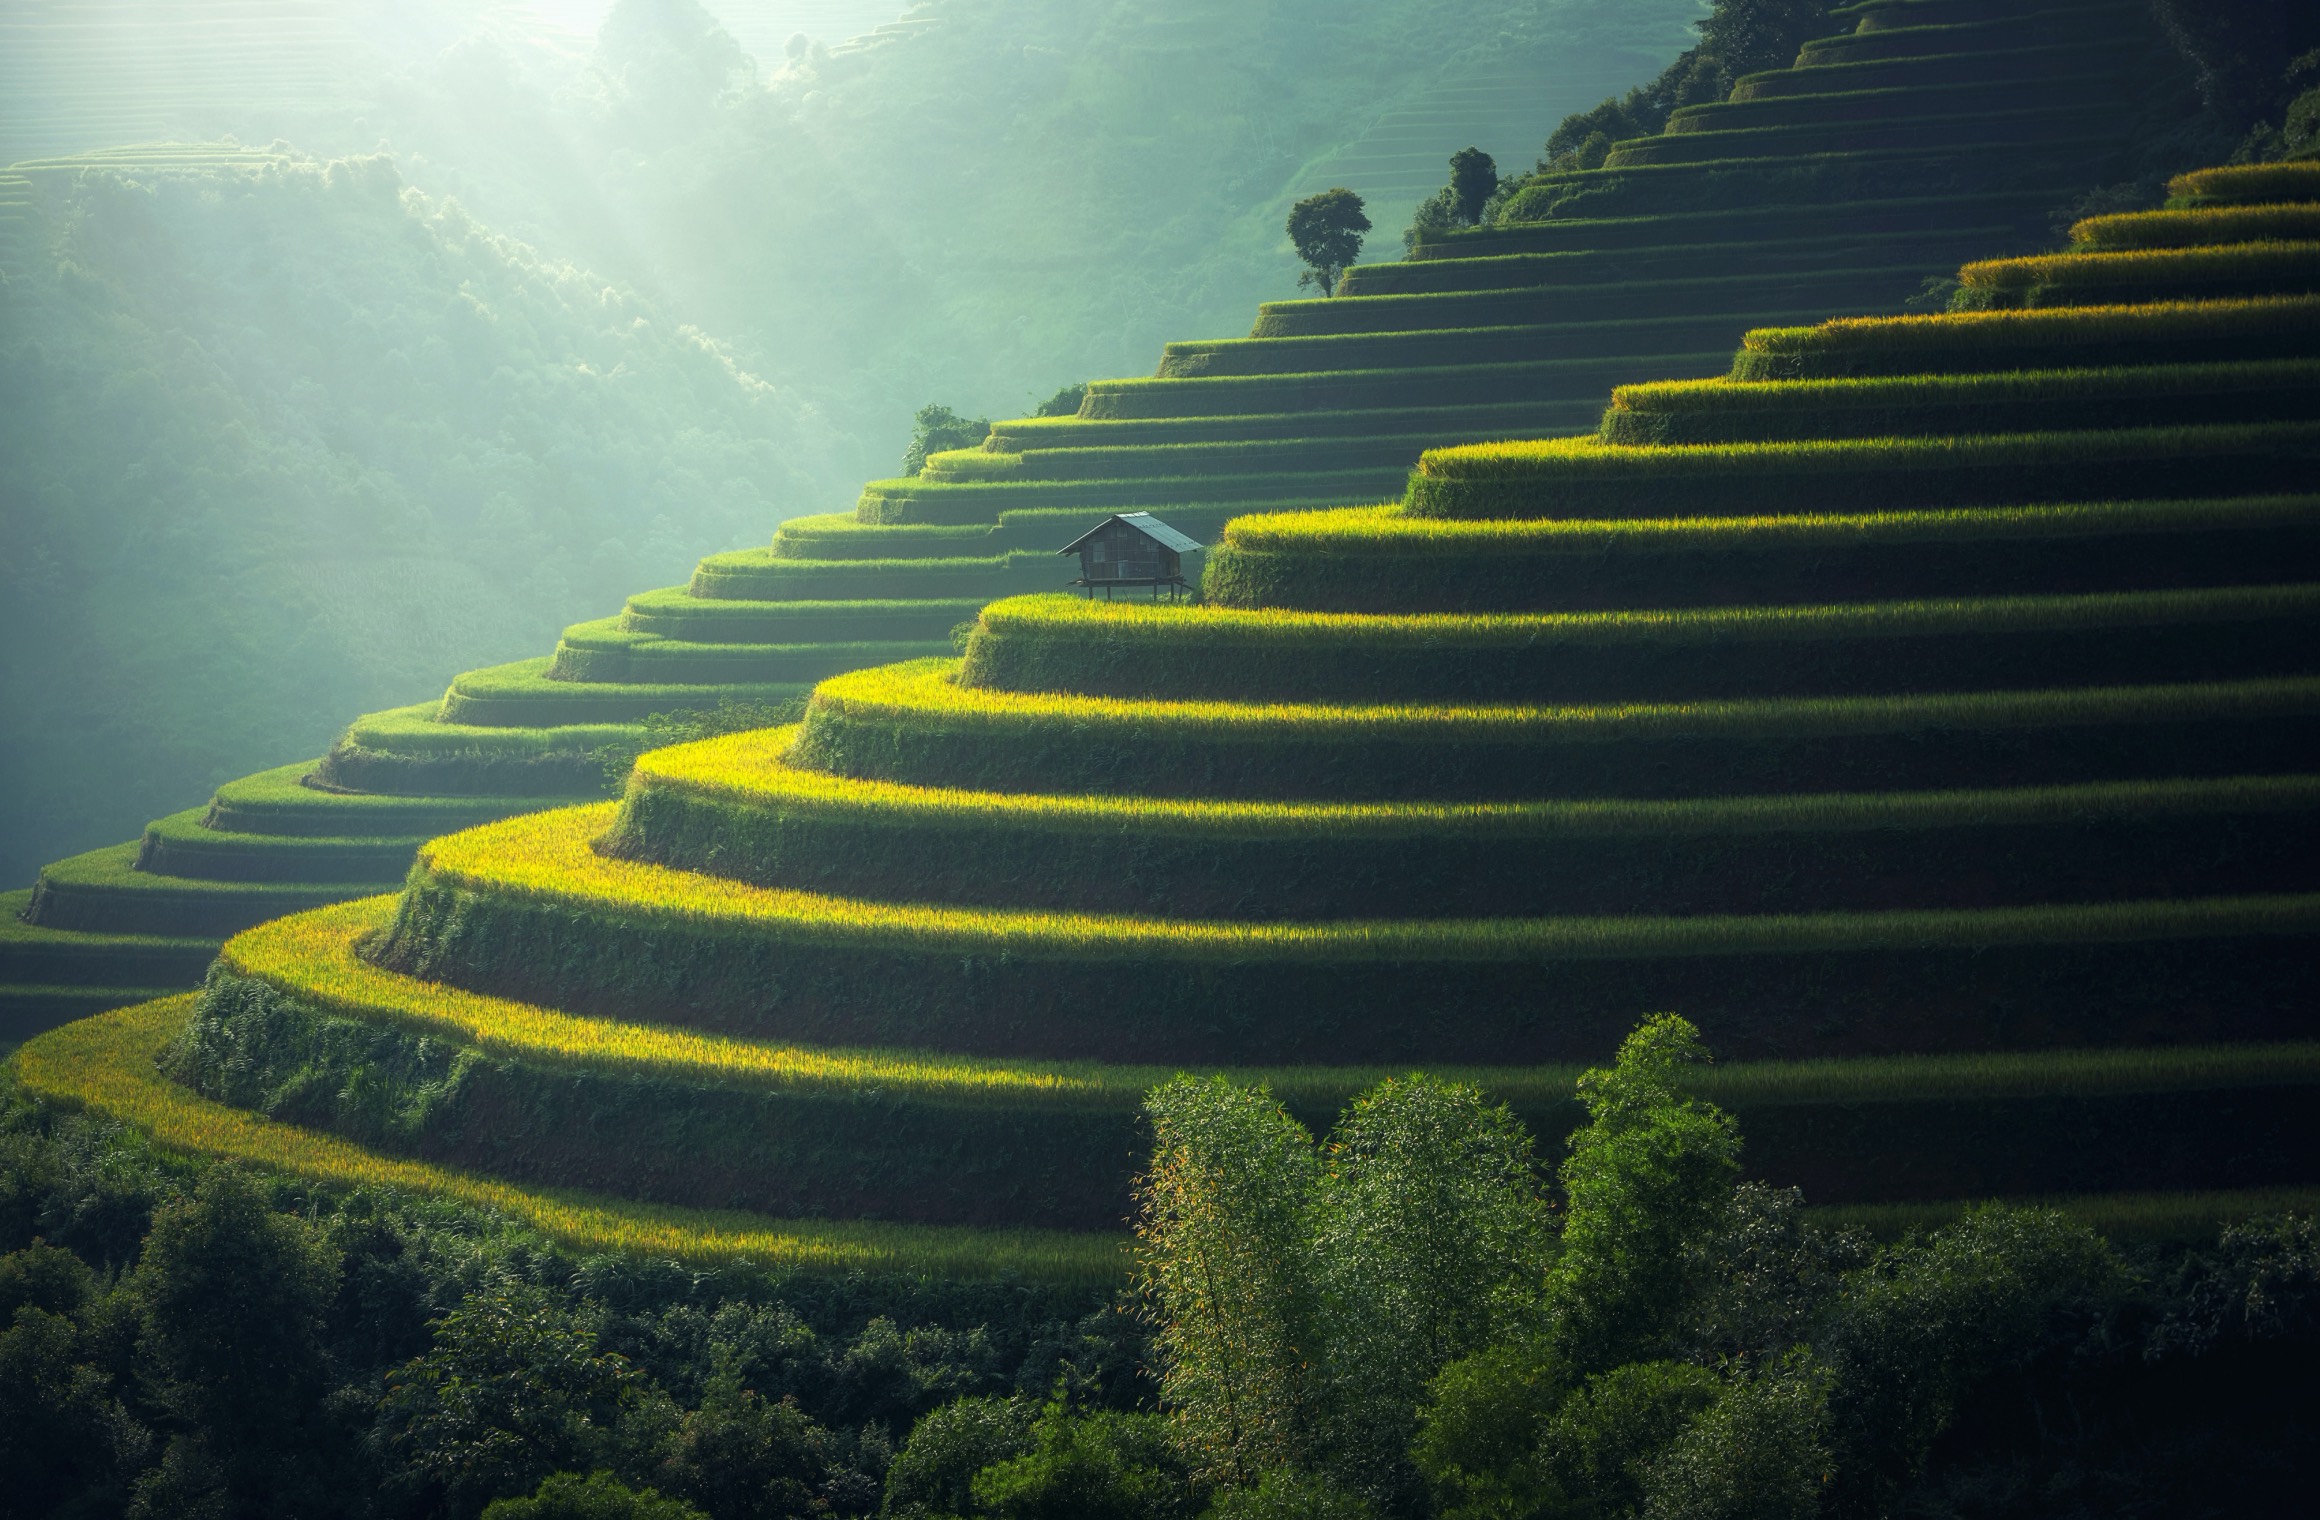
4. Create a sense of depth for dynamic images
Do you want to know an easy technique for creating powerful, dynamic images? All you need to do is to create a sense of depth in your photos. For this, you should lead the viewer’s eye from foreground to background and make the landscape spacious. First, use leading lines that draw the eye into a photograph to add depth. For example, the best leading lines in landscape photography tend to be paths, rivers, fences, and roads. I used a river as a leading line for my photo. Second, include objects in the foreground of your image. For an even better effect, get down to the ground at the object’s level, as this will make the object appear large in your photos. This is how you get a dramatic three-dimensional image!

5. Include a focal point for eye-catching photos
Landscape images need a focal point, the main element of interest in a scene. Therefore, make sure that you have one to prevent your photos from looking less attractive. For example, people make great focal points in landscape photos!
6. Use the rule of thirds to create beautiful compositions
Composition refers to the way elements are arranged in a photograph. You must create beautiful compositions to beautify your landscape photos. One technique for better compositions is the rule of thirds, which states that the best compositions have elements covering a third of the frame. This means that you should place the most important parts of your photographs along a grid. To do so, go to settings, tap camera, select grid and then you will be able to see the rule of thirds grid. For instance, placing horizons along the top and bottom grid lines is a good idea. But pay attention to avoiding too many elements in your compositions to avoid clutter.
7. Take a panorama for a breathtaking landscape photo
Do you want to create a truly breathtaking landscape photo by capturing the vastness and grandeur of the scene? If so, then you should take a panorama! Panoramas are extremely wide photographs since they are made by stitching together several normal photographs. To take a panorama, open the Camera app and swipe to find the pano shooting mode. You will then see directions on the screen that indicates how to move your iPhone while taking a panorama. Another important tip is not to include too much of the foreground in your panorama because they get distorted by the wide, panoramic field of view. I always use the panorama mode when taking pictures of vast landscapes!
These tips for landscape photography with an iPhone are amazing! I always use them to take fabulous photos! Do you want to try them too? Please share your personal experiences and comments below!
One reply on “Take Landscape Photos On Your iPhone Like Experts”
[…] times when there are no sales on Apple products or when you need an urgent replacement of your broken gadget, a slightly older and less […]