How to Clean a Printer
Contents
– Step 1: Launch the software to clean your print nozzles
– Step 2: Align your printer’s print heads with your software
– Step 3: Proceed to the physical cleaning of your printer
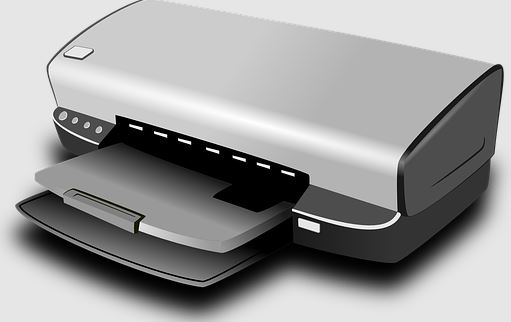
The documents produced by your inkjet printer are starting to show worrying signs: white stripes, faded colors when the cartridges are full, or even streaks of ink stains. Don’t worry, like any “mechanical” machine, a printer gets dirty and requires maintenance – it is time to clean it.
Here is how to clean your printer.
1. Launch the cleaning software for your printing nozzles
It may seem strange at first, but the first thing to do is to ask the software that manages your printer to clean it:
– The software will print test pages made up of colored strips to clean the print heads.
Expressing the ink in a rather intense way will clean the nozzles, small elements comparable to tattooist needles by which the ink droplets are projected on the paper. These nozzles can become blocked and cause printing problems (dirt, dust, dried ink particles, etc.).
This operation is necessary but can quickly empty your ink cartridges! Therefore, perform the software cleaning of your printer every 2 or 3 months, but not more:
– Install the cleaning software: this is specific to each brand or even to each printer model. The driver is automatically installed when you install a printer, but this associated software is often optional. You can obtain it via the CD supplied with the printer or by downloading it online from the manufacturer’s site. Please enter the name of your printer model in the Google search field to find it.
– Proceed with the cleaning by going to the “Maintenance” menu of the software, then “Clean the print heads”.
Good to know: some printers allow you to launch the operation from the printer’s control panel.
2. Align the print heads of your printer with your software
Once the cleaning of the nozzles has been carried out, if you notice that the printed characters remain blurred or that the vertical alignment of the printed lines is not correct, proceed with the alignment of the print heads, still using your printer’s utility:
– Go to the “Maintenance” menu of the software, then “Print head alignment”.
– A test sheet, composed of several patterns with horizontal and vertical segments, is then printed.
– Indicate to the software the number of the pattern which presents the best alignment.
– The software will adjust the alignment of the print heads on this basis.
3. Proceed with the physical cleaning of your printer
If your prints are still unsatisfactory, you will have to clean your device in the literal sense of the term. This consists of dismantling the various parts of the printer, cleaning them, cleaning the inside of the printer of dust and other dirt accumulated in the printer casing, and then putting everything back in place.
– Place your unplugged printer on a clean work surface and carefully remove all removable parts for cleaning.
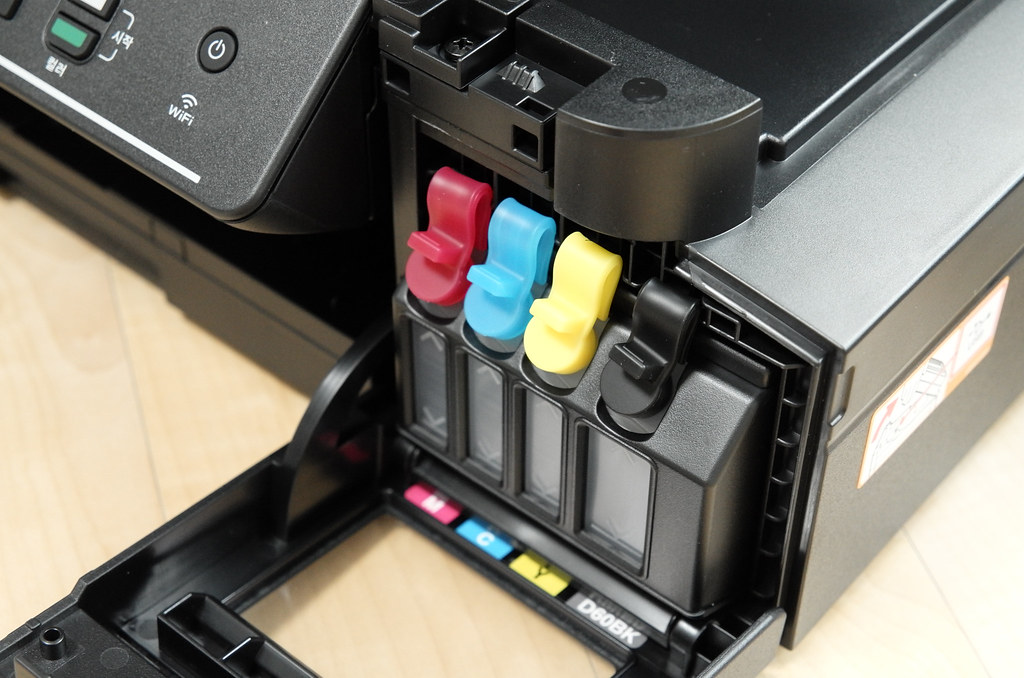
– Start by removing the cartridges and cleaning the print head contact area and then the print head ramps, i.e., the cartridge insertion areas. Use a foam tip or a new, lint-free cloth.
– Clean the interior areas with a dusting nozzle or a dusting gas spray.
– Once the major cleaning is complete and all components are back in place, plug your printer back in and print a test page.
Important: never use a liquid product for this operation! The electronic components are fragile and could be damaged.
If the problems persist, you will have to turn to a professional and perhaps change your equipment. Printers, like computers, do not have an unlimited life span.
Hope this post will help you clean your printer heads. Remember to share your experience in the comments below.
One reply on “How to Clean a Printer”
[…] How to Clean a Printer; […]