
How to Connect Wi-Fi to Older OS
Summary
– Find the Wi-Fi network name and its security key
– Case 1: Connecting to Wi-Fi with Apple OS X 10.10
– Case 2: Connecting to Wi-Fi with Microsoft Windows 8.1
– Case 3: Connecting to Wi-Fi with Microsoft Windows 7
– Case 4: Connecting to Wi-Fi with Linux
Wi-Fi is a wireless communication protocol that connects different computer devices in a home or professional network. These devices can be computers, tablets, smartphones, TV set-top boxes, printers, etc.
If you have an Internet box at home, it has Wi-Fi. With this connection, you can connect your equipment directly to the box and enjoy the Internet without pulling computer cables.
Another practical side of Wi-Fi is that free or paid access points allow you to connect to the Internet in various places such as restaurants, bars, museums, etc.
Here’s how to connect to Wi-Fi with a computer.
Find the name of the Wi-Fi network and its security key
The Wi-Fi connection of your Internet box is predefined and is automatically activated when you install your box. To install your box, refer to the installation guide provided with it.
Generally, the network name and the associated security key are placed
– either directly under the box;
– or on the box in which the box was delivered;
– or on a letter accompanying your box.
Once you have found this information, please write it down because you will need it later, and your box is not necessarily next to the equipment you need to connect to Wi-Fi.
If you can place your box in the center of your home, the Wi-Fi signal will be better distributed. Also, the thickness of the walls and the building materials can influence the signal diffusion like metal.
Case 1: Connecting to Wi-Fi with Apple OS X 10.10
If you have an Apple computer, its operating system is OS X 10.10, also called Yosemite. To connect to the Wi-Fi network of your box:
1. Click in the menu bar on the Wi-Fi symbol represented by several arcs of a circle.
2. In the list of Wi-Fi networks displayed, click on the name of your network (the one noted in step 1).
3. In the window that appears, enter the password you noted earlier. Check the Show password box to make sure you enter the correct password. You must respect all the characters of the password and the upper and lower case.
4. Click on the Login button.
Good to know: Apple OS X checks that the password you entered is correct, and if it is, the Wi-Fi symbol in the menu bar turns black. The number of black arcs represents the strength of the Wi-Fi signal. The more arcs, the better the reception. If you are too far from the Wi-Fi transmitter, your box, in this case, you risk losing the signal and, therefore, the connection to the Internet.
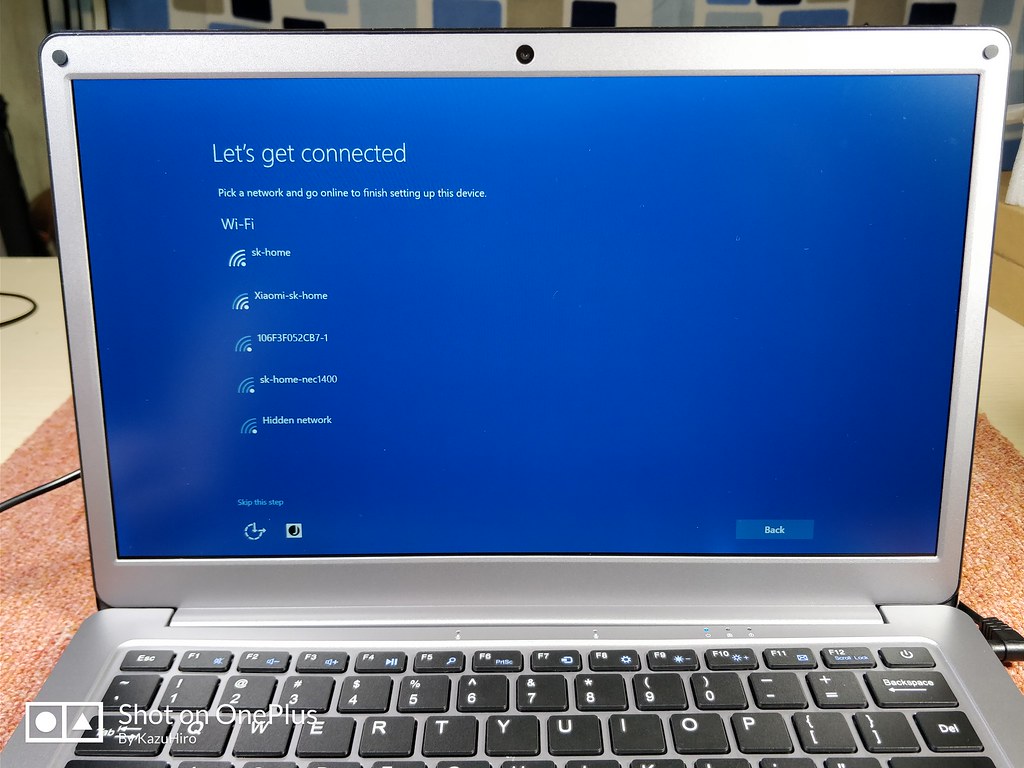
Case 2: Connecting to Wi-Fi with Microsoft Windows 8.1

With a computer running Microsoft Windows 8.1, the Wi-Fi connection mode is a little longer:
1. Place the mouse cursor in the lower right corner or press Windows + C, then click on Settings.
2. Click on the Wi-Fi symbol with the words Available.
3. The list of available Wi-Fi networks is displayed. Click the name of your Wi-Fi network.
4. Check the Automatically connect the box to have your computer automatically connect to this network if it is nearby. Click the Connect button to continue.
5. Enter your Wi-Fi key. Click on the eye icon to temporarily display the password you entered in plain text. Click the Next button to continue.
6. Windows 8.1 allows you to enable automatic discovery of other devices on the network. If you are on a personal or professional network, click the Yes button. If you are on a public network (cafe, train station, etc.), it is better to click the No button.
7. Windows 8.1 checks the Wi-Fi key and sets up your computer on the network.
8. Once connected, the network you are connected to is placed at the top of the list. You can browse the Internet.
Case 3: Connecting to Wi-Fi with Microsoft Windows 7
For Microsoft Windows 7, everything happens in the Notification Area:
1. Click in the Notification Area on the icon representing the Wi-Fi – the one with the staircase bars.
2. The list of Wi-Fi networks captured by your computer is displayed. Click on the network of your choice.
3. Check the Automatic connection box so that your computer will automatically connect to this network if it is nearby. Click on the Connect button to continue.
4. Enter your Wi-Fi key. Uncheck the Hide characters box to display the password in plain text. Click OK to continue.
5. Windows 7 verifies the password and connects you. To verify that you are connected to the Wi-Fi network, click again on the Wi-Fi icon in the Notification Area. The words Connected are displayed to the right of the network you are connected to. You can now surf the Internet.
Case 4: Connecting to Wi-Fi with Linux
For Linux, the connection method is almost identical for all distributions:
1. Click on the user account name.
2. In the System Settings window, click on the Network icon.
3. In the Network window, click on Wireless in the left column.
4. Still in the Network window, the list of wireless networks your computer is connected to is displayed in the right column. Click on the one you want.
5. Enter the password and validate.
6. Once connected, a tick is displayed in front of the network’s name to which you are connected.