
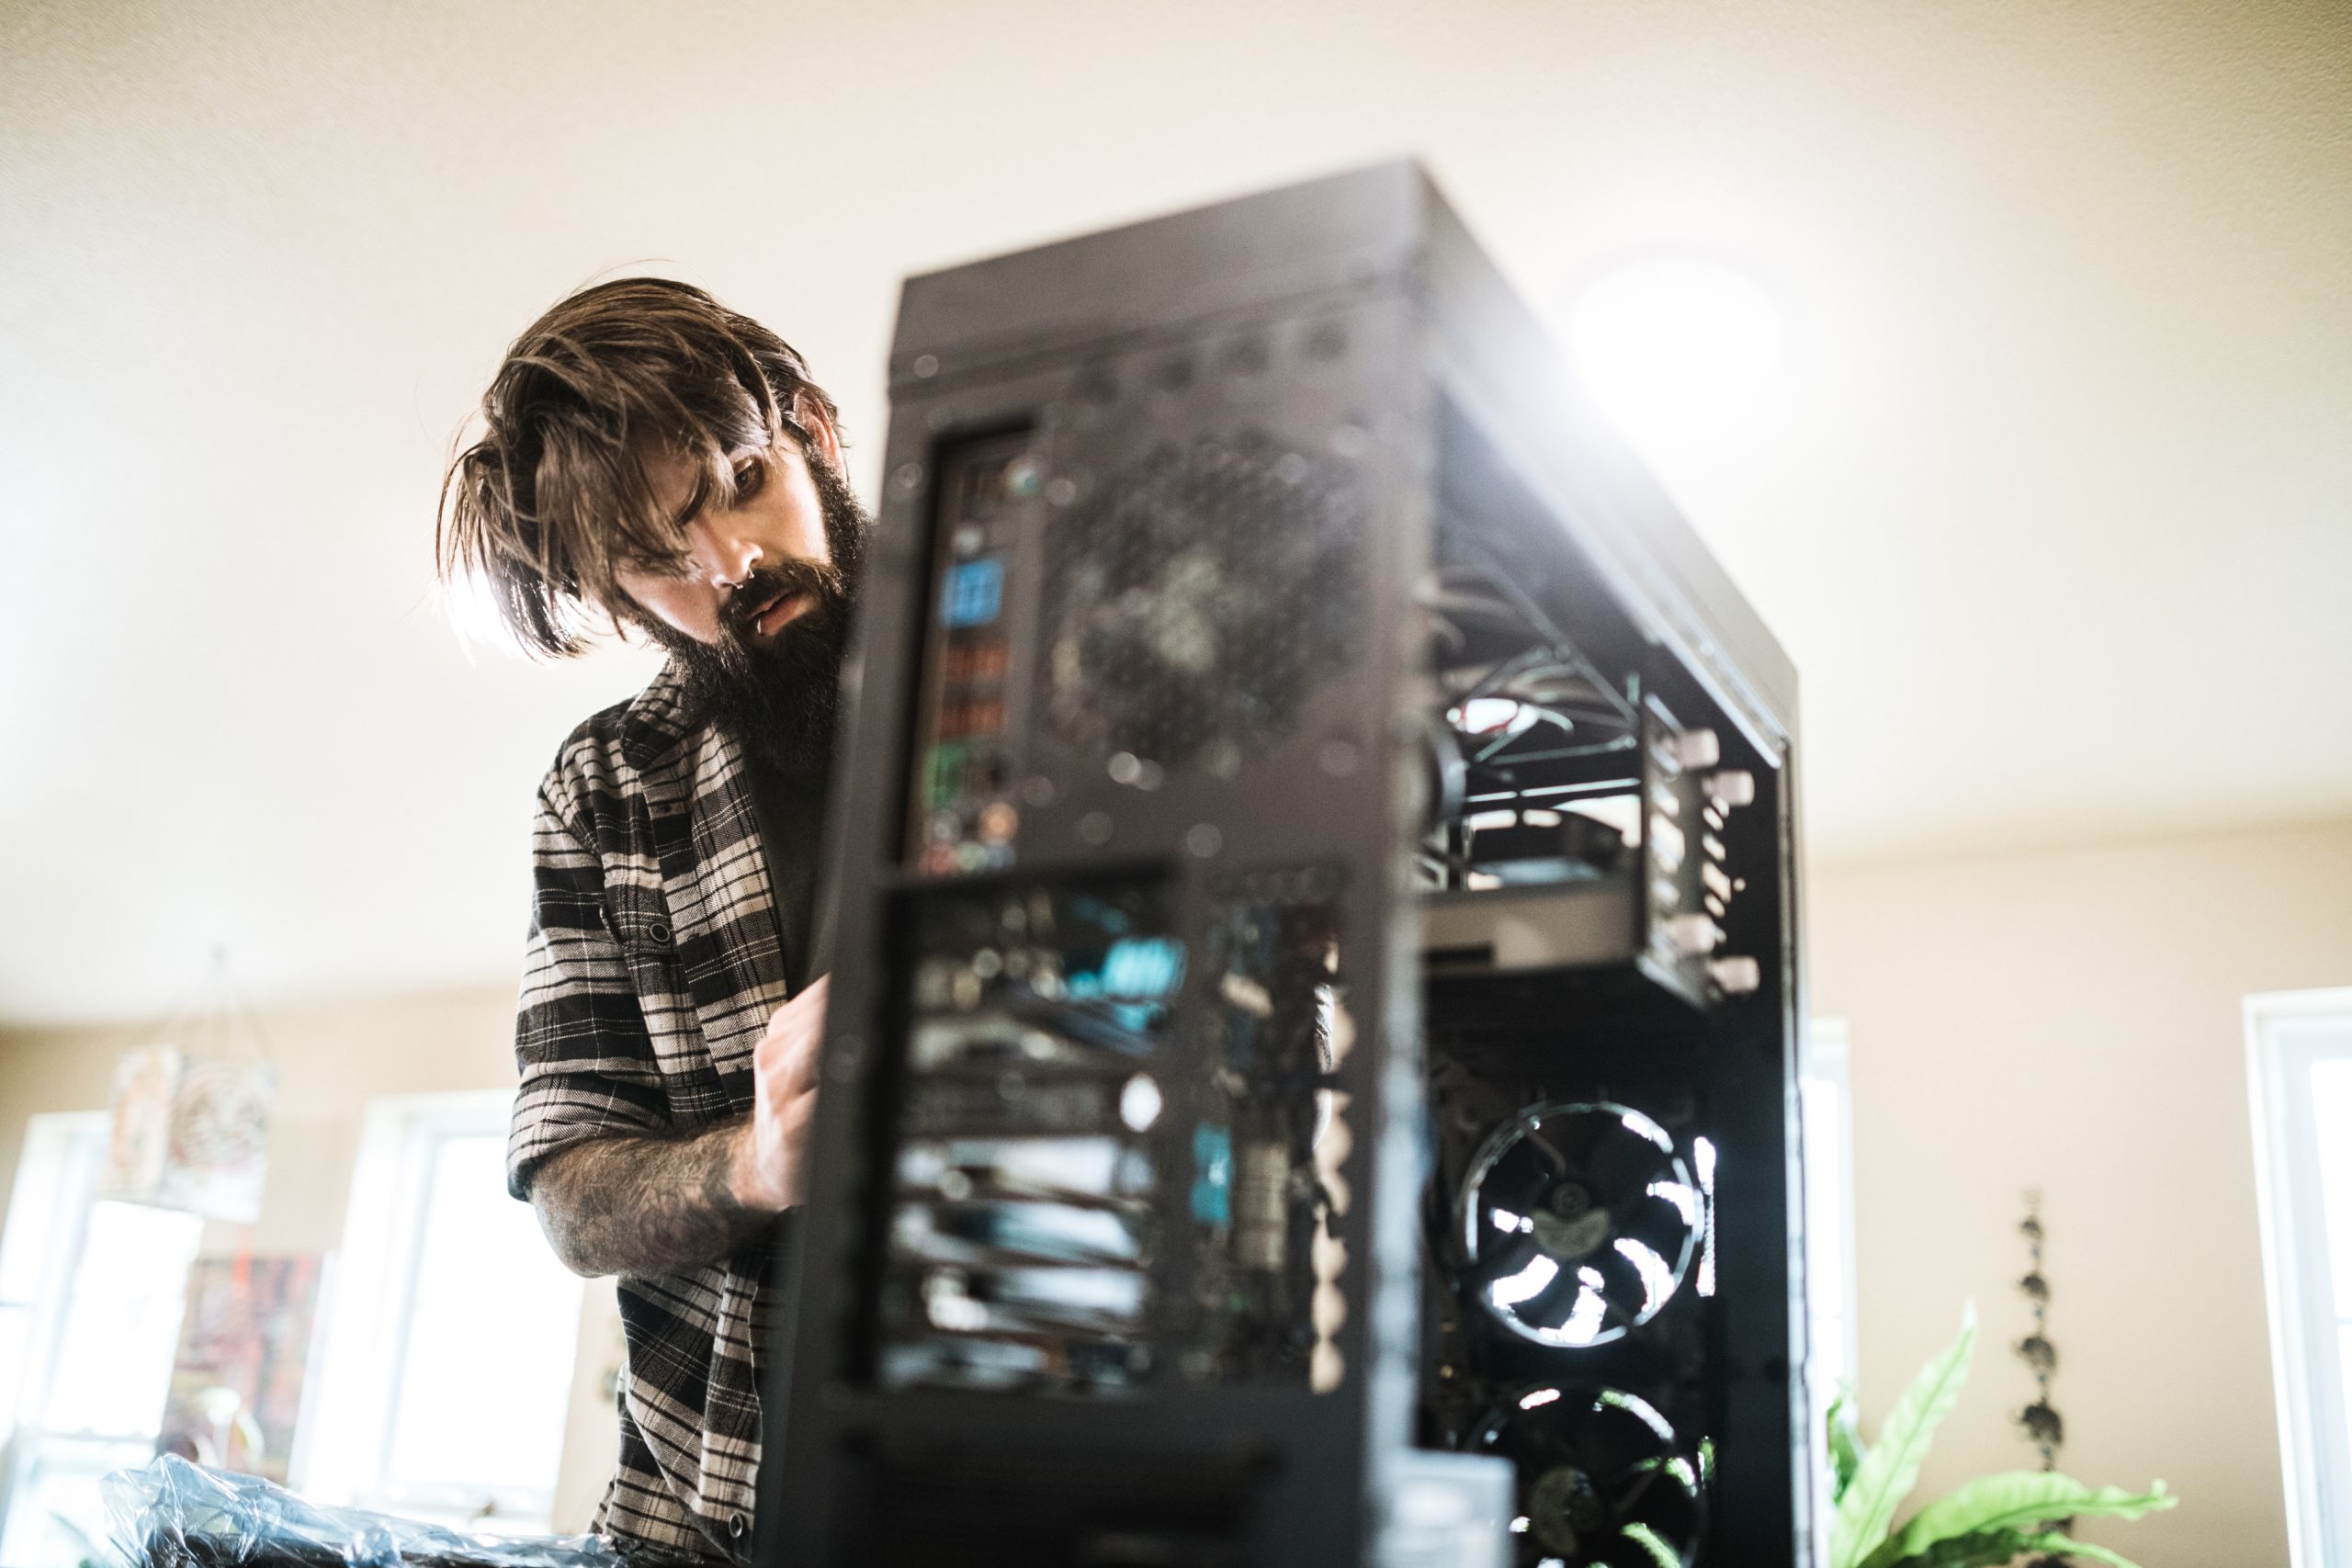
There are many reasons you might need to disassemble your pc – and I don’t want to know them –but you definitely need to know the how-to.
Instructions on the How-To:
Step 1: Switch off the computer (as well as the power strips):
You start by turning off the computer as you normally would (i.e. Start Menu -> Shut Down or, of course, in Linux, you can type “halt” from a root terminal). And, once you’ve turned off the power strip, unplug it from the wall. Now when you’ve done switching off and disconnecting everything that’s required, there should be absolutely no connection between your computer and any power source. Often these towers have a small light somewhere that will automatically turn off when the power cable is disconnected. This is an important step because unplugging some ports while power is still present can cause damage.
Note: And, please don’t forget to disconnect any uninterruptible power supply if you have one.
Step 2: Draw a diagram of the cabling between the different components and label the ports for each:
It’s not essential for you to draw it perfectly; the most important thing is to have an accurate picture just to know, for example, that there’s a second cable from the second port slot on the monitor to the second port on the tower Trace each of your cables to see what it connects to and where it goes.
Step 3: Label all your cables:
Now, it’s time to wrap masking tape around the cable so that a long strip hangs off and then double it over to make a tag. Each end of the cable should be labeled. Some of the cables cannot be reversed (for instance, your camera’s USB cable will most likely have a larger end for the computer and a smaller end for the camera).
Step 4: Unplug all the cables:
Unplug them at both ends if possible; if a cable is tugged in a detachable port during shipping, the port may be damaged. So, better wrap them in figure-eights with a zip or twist tie in the center or in a kind of circle as if around an invisible spool, with one end wrapped in a spiral around the curve of the loop.
Step 5: Tape the cables to their respective peripherals:
If you take a look at your PC’s wiring diagram, you’ll find that almost everything has a three or two-pronged power cable into the wall or power strip, as well as an unusual-looking data cable into the tower. So the tower is in the center, and the rest is on the periphery, hence the term peripheral is used to refer to keyboards, monitors, mouse and so on. Taping each cable to its respective peripherals prevents them from becoming misplaced or mixed up. Power cables, in particular, can have a similar appearance.
Step 6: Transfer everything:
If you can get everything steered to the destination, make sure it’s all properly secured. At the very least what you can do is wedge the tower in the passenger-side footwell rather than allowing it to rattle around in the trunk, and put the monitor in a box to prevent anything from piercing the screen. If you must ship it, consult with your preferred shipper about proper packing procedures. Your own methods may be inadequate or unsuitable for insurance purposes (and if you ship a computer, you need insurance).
Step 7: Reverse the disassembly process:
Reverse the disassembly process. The most cautious will want to connect cables at the least expensive end first. A spark will jump every now and then, even if neither end is connected to a power source, and this can burn things out. Furthermore, because the less expensive end is almost always the peripheral, this means only one trip under the desk.
Step 8: Connect the power cables:
Always save your power for last. It is important to note that only your monitor and tower should be plugged into the UPS- additional peripherals will significantly reduce its discharge time.